In fact, the huge majority of clients we have are wonderful. I think the bespoke process helps to build relationships which would not normally happen in a retail environment. We meet them a number of times and spend quite a while with them in the end. It is a really fulfilling part of the work.
But back to shanks. Last week we put the leather shanks into the shoes, shaped them and left them. Of course, that is not the end of the process. We now have to fill the forepart. This is done so that when we stitch the sole on, it has a smooth surface. If we did not do it, the shoe would be uncomfortable and look ugly.
We don't use leather here as it is too heavy and inflexible. There are two options for the forepart. Cork (most common) and roofing felt.
There are advantages to both and it depends on your circumstances as to which you choose. Both are fitted in broadly the same way.
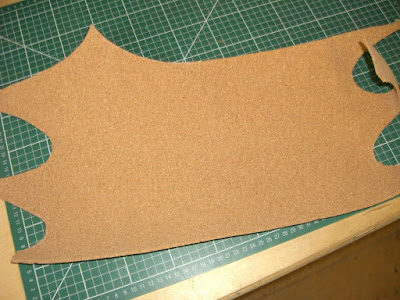
Cork is probably the easiest to source and fit. You buy it in sheets or rolls. It is light, flexible and easy to shape.
However, it can, over time, compress and crack which can lead to squeaks (not a common problem).

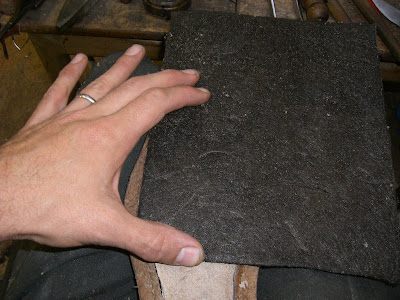
Felt is more waterproof and will never squeak. It is however, more fiddly to fit. We use it here more often because of the wet weather. We use roofing felt that has been impregnated with tar which waterproofs it. You buy it from builders suppliers.
So here is how you do it. As with the leather shanks, you use chalk to mark the edge of the space to be filled.

Then you place the felt over the chalk mark to transfer it to the felt.

Next you need to cut out the felt. I have a knife dedicated only to this because it is a messy job. I heat the knife on the burner before cutting.

Next you glue both surfaces using contact adhesive. Let it dry for 10 minutes.

Glue the felt in place.

You will notice that the edges stick up and you need to skive with the hot knife. I do the joint area first, followed by the welt area edges. It is important to keep the knife hot and sharp. You will need to look at the middle of the felt. Usually it is domed and you will have to skive it flatter. A little domed shape is ideal, not completely flat.

Hammer the whole thing flat once the felt has cooled down. Otherwise it will stick.

This is the finished shank and filler. It should flow with a smooth, harmonious line.

If you are using cork, do the same thing as above. The only difference is that you use your regular knife for skiving and use a rasp for the middle part. It is super easy and satisfying.
And that, as they say, is that! Hope this is useful to all you aspiring shoemakers out there.
Please feel free to ask me for posts on any specific aspects of shoemaking you are struggling with. I am here to help.
Until next week, happy shoemaking!