Friday, January 25, 2013

From shoe to boot

We are back in our studios and it's so quiet without any students about...there's just me and James ploughing our way through a heap of bespoke and design work. (Hopefully the snowy weekend didn't delay anyone's flight too badly getting home)?

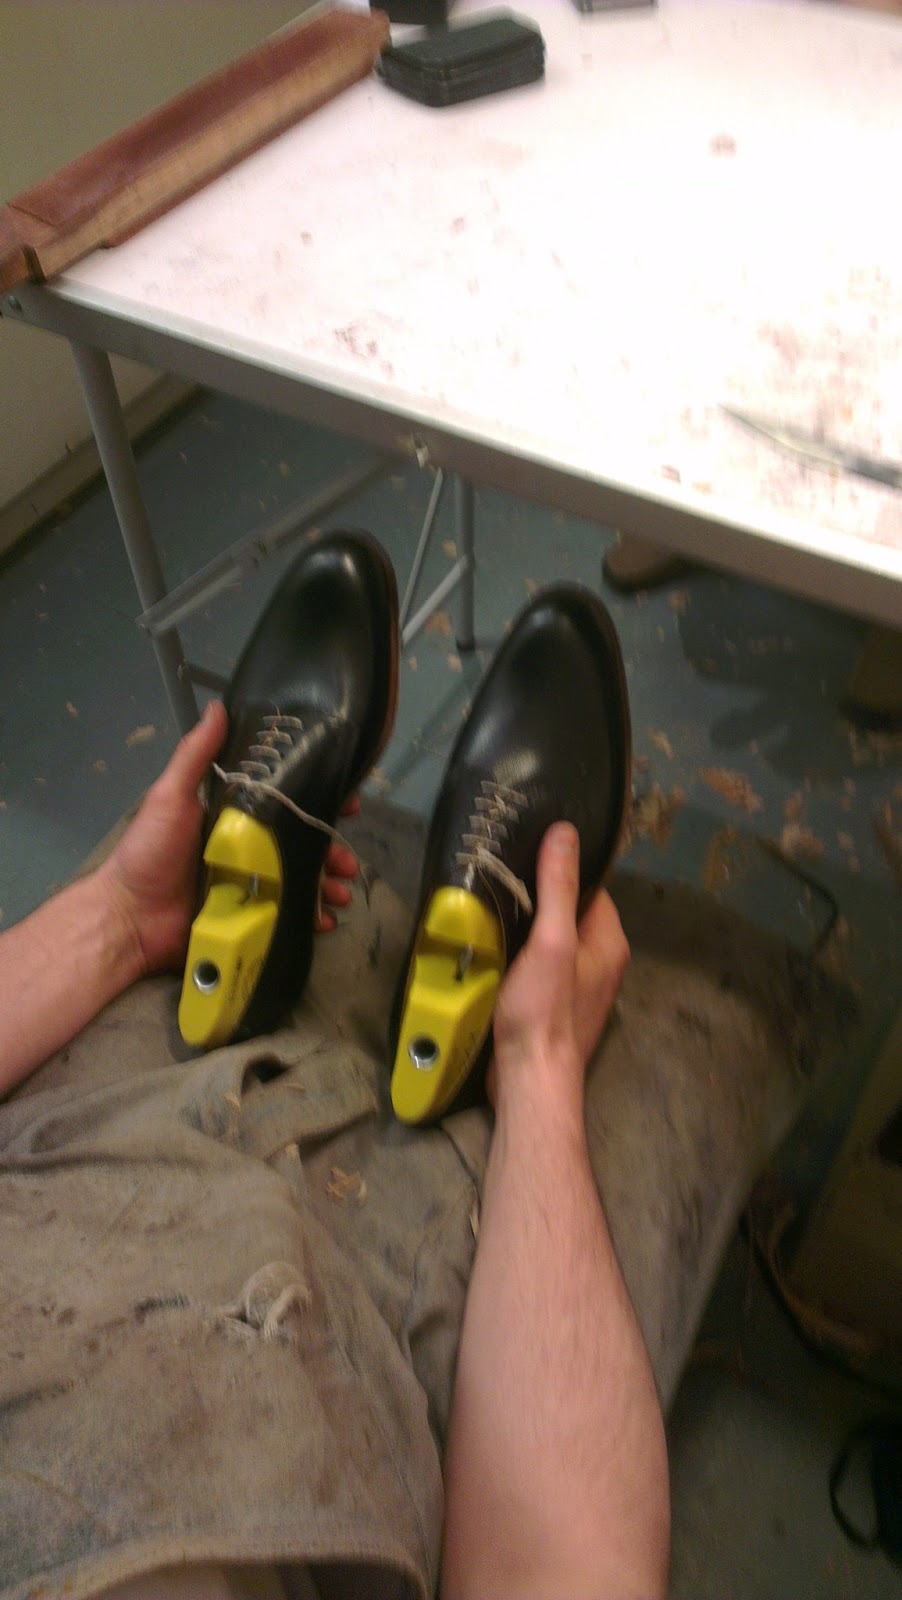
Anyway onto all things shoe. During the course, one of our students came up with a great blog question - "How do you fit up a shoe last for a boot?"

Obviously having boot lasts for boots and shoe lasts for shoes is the ideal, but is not always possible. You can make boots using a shoe last without any fittings at all, as long as you have the necessary short and long heel and ankle measurements.

But a boot fitting is helpful for the following reasons:-

- To keep the upper at the correct angle for the foot
- To stop the boot upper being mis-shapen when you are making the boots
- To create a better fit/shape at the facings


There are many ways of making a boot fitting and this is just one of the ways that we do it.
  •  Use a paper template to cut a semicircle of leather (the fitting) from shank leather or an off cut from the insole leather. The semicircle should be long enough to overlap the cone of the last by at least 1.5" and to extend above the cone by a further 1.5 - 2". 


  •  Skive the leather a third thinner all over, so that it is thin enough to bend in half.
  • Skive the curved edge of the fitting to nothing
  • Rough the skin side with sandpaper or a rasp
  • Check the angle of the fitting on the last using the long and short heel measurements  to ensure they correspond to the client's measures. (you may need to notch the fitting to position the it correctly - see above).
  • Draw a line to mark the bottom edge and angle of the fitting on each side of the cone
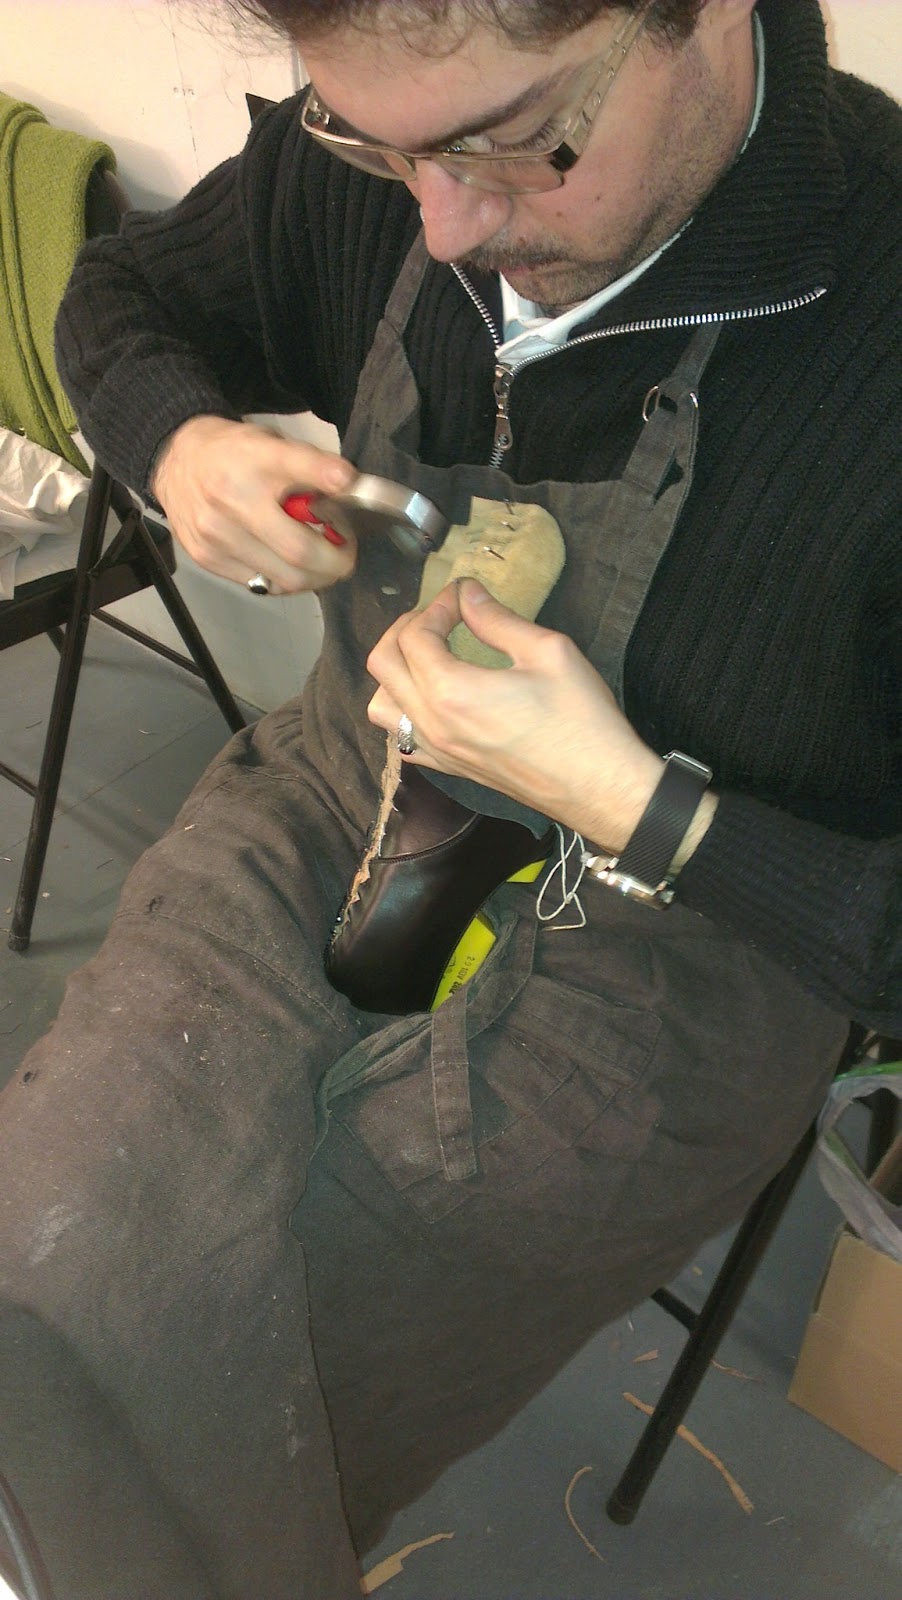
  • Use contact adhesive on the corners of the skin side of the fitting and on the sides of the cone of the last 
  • Stick one side of the fitting to the last; hammer it in place and use short, wide headed brads or nails to secure it. (Punch the nail heads below the surface of the leather so that they won't scratch the lining).
  • Now fold the fitting around the cone and stick the other side in place. Hammer and nail securely as before.
Ultimately what you are trying to do is to provide the upper with some support whilst you are working on it; and to keep the top edge at the right angle and at the right height when you last the upper. We hope that this brief description helps and we look forward to hearing what techniques you use to fit up your lasts.

Until next week happy shoemaking.

Saturday, January 19, 2013

Last day of January 2013 course


It is the last day of our January course and despite London's snow-covering we were all raring to go and on time this morning. After a day of rasping, sanding and glassing yesterday, we started the day with dust-free, clean floors and tabletops to concentrate on finishing.


A rahn file, plough and file were dutifully employed to sharpen up sole edges...


 then a generous coating of black dye helped to disguise any lumps, bumps, rips and stitches...


Soles were burnished and rubbed smooth and glossy...

heels and edges were waxed, burnished and rubbed smooth...


and then we pulled lasts, tried on the shoes, made lifts and socks to help them fit and it was polishing time.
The dapper Francesco

 Our maestros of the military polish were Francesco and Ruben whose mirrored toes put us all to shame!
Polishing perfection - a master class!
Fortunately there was cake and Cava to hand to lift spirits as we all said our goodbyes. I only hope that the snow doesn't delay everybody returning home. Safe travels!

Ruben, Austin, Gudrun, Alistair, Francesco, Asa and Javon

James and I have had a fantastic fortnight! We hope everybody has enjoyed it and gone away even more enthusiastic about the handsewn craft and determined to keep creating shoes.

....and their beautiful shoes!

Thursday, January 17, 2013

Intensive Shoemaking Course - Days 9 and 10

Day 9 saw us building heels. This is quite a technical phase of shoemaking and requires juggling a lot of things all at once. It is essential the heels are well built, even and the same height. Otherwise, they can cause bio-mechanical problems for the wearer.

We build the heels lift by lift, starting with the split lift or rand; followed by two lifts; and finally the top piece which has a quarter rubber incorporated into it.

Here are a few shots of the students in action


Cutting The Heel Breast

Checking They Are A Pair

Marking Where To Put The Nails In


Skiving The First Heel Lift

The end of the day saw everybody's heels built and the finishing process started. The shoes are functionally sound at this point, and the rest of our time will be spent making them look lovely.

Here are a couple of shots of the rasping process.


Hope this whets your appetite to make shoes. And where better place to start than with carréducker on one of our intensive courses. The next one is in May in New York

Until next time, happy shoemaking!

Tuesday, January 15, 2013

Intensive Shoemaking Course Jan 13 - Day 7

We have roared into week 2 with a flurry of thread making and stitching the soles.

We spent much of Saturday making leather shanks and filling the forepart with cork. Leaving Monday for the serious business of getting the soles on.

Fortunately, most of the students agreed that it is easier than welting.

Here are some images of them at work.


Today will see them finish the soles and start building their heels.

Until the next time, happy shoemaking

Saturday, January 12, 2013

Intensive Shoemaking Course - Day 6

Well here we are, half way through already and our lovely students are going great guns. With the welting almost done, it feels like we are at the peak of the difficulty. It is a long and gentle  downhill run from here. There may be a few undulations here and there, but the hardest parts are done.

It is a peculiar feature of the course that the most challenging things all come in the first week - but that is shoemaking, ladies and gents.

Here are a few images of what we did this morning.


Beating The Welt

Welting

Flattening The welt

Next up is making the shanks, getting the forepart filled and then it is soles. Once they get those on, the shoes really begin to look like shoes and, with the end in sight, the students feel really proud of what they have done. It's a really fulfilling experience!

Checking The Shape Of The Filler

Rasping The Cork

Nails In The Sole

Checking The Welts

Well, that all went swimmingly. Another productive day. Well done to everyone. Soles on Monday after a well earned day off.

Until next time, happy shoemaking!

Friday, January 11, 2013

A strong resolve and a call for help!

It's a new year and I don't know about you, but I've kept my New Year's resolutions simple this year - to get out and see our friends more...and to be more creative and experimental as a shoemaker/designer.

But others have made more life-changing resolutions. As you will have read, week one of our January intensive course is well under way but what you didn't know is that virtually the whole class are resolved to become shoemakers!


They are so drawn to the craft, that they have taken two weeks out of very busy lives - and travelled from as far afield as Iceland, Italy, Spain and the US - to sit down with us and learn the basics. It is an enormous responsibility and we hope that they will leave us next week wiser about the reality of life as a handsewn shoemaker, and still enthused and determined to continue making.  

We will keep you posted on how they do next week, but in the mean time one of the biggest questions for them is "what will they do after the course?"

An apprenticeship is the obvious choice, but these are hard to come by. The majority of handsewn shoemakers are small businesses and so taking on an apprentice is a massive commitment of time, money and materials...and there is no guarantee that the apprentice will stay when their time is up.

Here in the UK, The Queen Elizabeth Scholarship is one organisation to champion craft studies (I owe it everything as it funded my apprenticeship), but what of elsewhere in the world?

We want to help. If you have any information about shoemakers seeking apprentices, manufacturers who use handsewn workers and organisations, awards or grants that could help to fund aspiring shoemakers, wherever you are in the world, please email us. Perhaps together we can create an on line resource for all aspiring shoemakers?

Many thanks and until next week's update on the course, happy shoemaking.

Wednesday, January 9, 2013

Shoemaking Course January 2013, Days 1 - 3

Hello one and all. Monday saw the start of our first intensive shoemaking course of 2013 and also the second term of our weekly shoemaking course. Eleven hours class time for one student who is doing both!

We have a full class of seven, with students from England, Italy, Spain and Iceland. A very capable class, they have motored through the first three days with great success (and speed).

The first day saw them sharpening knives, blocking the insoles and preparing stiffeners/toe puffs.

Day two was spent preparing the insole, skiving stiffs/toe puffs and making threads.

Today saw them lasting.

So all in all, I am impressed!

Tomorrow will see us starting to welt the shoes which is a first I think on Day 4.

Here are a few shots of the students in action. Hopefully, it will whet your appetite and spur you on to doing a course with us.

The Classroom

Skiving a Toe Puff

Lasting a Toe Puff

Trimming The Excess Leather

Lasting The Toe Puff

Look out for further posts about their progress during this week and next.

Until then, happy shoemaking.

Friday, January 4, 2013

Happy New Year

And here we are in 2013. We hope you had a fantastic festive period and a wonderful New Year. We certainly did with 12 days off work which is very rare and very welcome. We had our first day back yesterday which was, as you can imagine, a bit hellish. Needless to say, we have not done much shoemaking this week, so we do not have much to share with you.

What we can show you is some of the work which we have stacked up waiting to be done. So here goes.

First up is a pair of deer skin Derby shoes with a green shrunken calf facings detail. This is a second pair, so we can get on and make them straight away without the need for fittings.
The deer skin is very soft and because it is from a wild animal (culled in Scotland) it is uneven, with slight blemishes which gives it an interesting patina.


Next is a pair of our classic black Oxfords with a red kid lining. The customer designed the toe medallion. These are for a fist fitting, so we will brace them to a piece of insole and see the customer as soon as possible.


Next up is a pair of Derby boots in chocolate brown grain with shearling lining and purple slip beading on the top edge.


Love the slip beading, very stylish.


And these are going to be very warm winter boots. With a rubber sole? Not sure yet, will have to check with the ticket.


This is a pair of ladies pumps which are ready to brace for a first fitting. We have made a fitter upper because we anticipate a few problems with this customer in terms of fit and her fist pair will take some time to perfect. Once we have it right however, she will be able to order many more pairs.
We often make a fitter upper if we are expecting a difficult fitting stage or if the leather is particularly delicate.


And lastly, a third pair for a very good client of ours. He already has a pair of these and wants another. Obviously we are happy to oblige.


He is having a rubber Dainite sole, so we have to last them and welt them including the seat. We then send them to a company which stitches on the sole. You can't stitch on a rubber sole by hand unless you have a hollow awl which makes a hole. If you use a regular awl, the hole just closes up when you take the awl out.
They will look like this.


And that is it for this week. We wish you all a very prosperous 2013 and hope you will continue to read our blog.

And we also hope that you will continue to comment on what you read - we are always glad to hear from you.

Until next week, happy shoemaking!