Friday, March 25, 2011

Adjusting Lasts

We have just delivered this pair of wholecuts. I think they looked great on the customer as he was tall. Spade welt, red lining. Sharp!


I make bespoke shoes for a living, all day every day (well, five days a week, occasionally more), and I am very used to the way we do things here at carréducker. We have resources and experts on hand for all the processes involved in getting our shoes made.

So sometimes, when I am writing this blog or communicating with followers out there, or helping students of ours to set up their own practice, I forget how difficult it is for individuals to make shoes by hand on their own. If you are setting about making shoes, there are a multitude of stages which you must go through which I take for granted. Finding lasts; making patterns; closing; buying leather; finding tools; threads; waxes - the list is long.
So I have decided to do more posts about some of these other aspects which in my normal working life are straightforward.

One of these is lasts. With bespoke shoes, obviously the last needs to be customised to the feet in question. These may be your own feet or a customers, but you will need to be able to make adjustments.

When we measure a new client's feet, we end up with a series of measures called the draft. We also take a foam impression of the feet. Then we send all of this to our last maker who miraculously carves a pair of lasts from blocks of wood. This is a trade in itself and requires a 3-4 year apprenticeship.

I imagine that for most of you, this is not going to be possible, but there is another alternative which I think is more accessible. Getting hold of lasts is possible, Ebay, junk shops, car boot sales, reclamation yards, etc. Get a collection going and when you come to needing one, find one in your collection which fits closest to your draft.
And next is the fun bit, you have to adjust the last to fit your measures. This involves either taking material away or adding material to the last.
To take it away, you will need a vice with leather on the jaws to prevent damage to the last and a surform/rasp. You simply rasp away until it fits the measure.


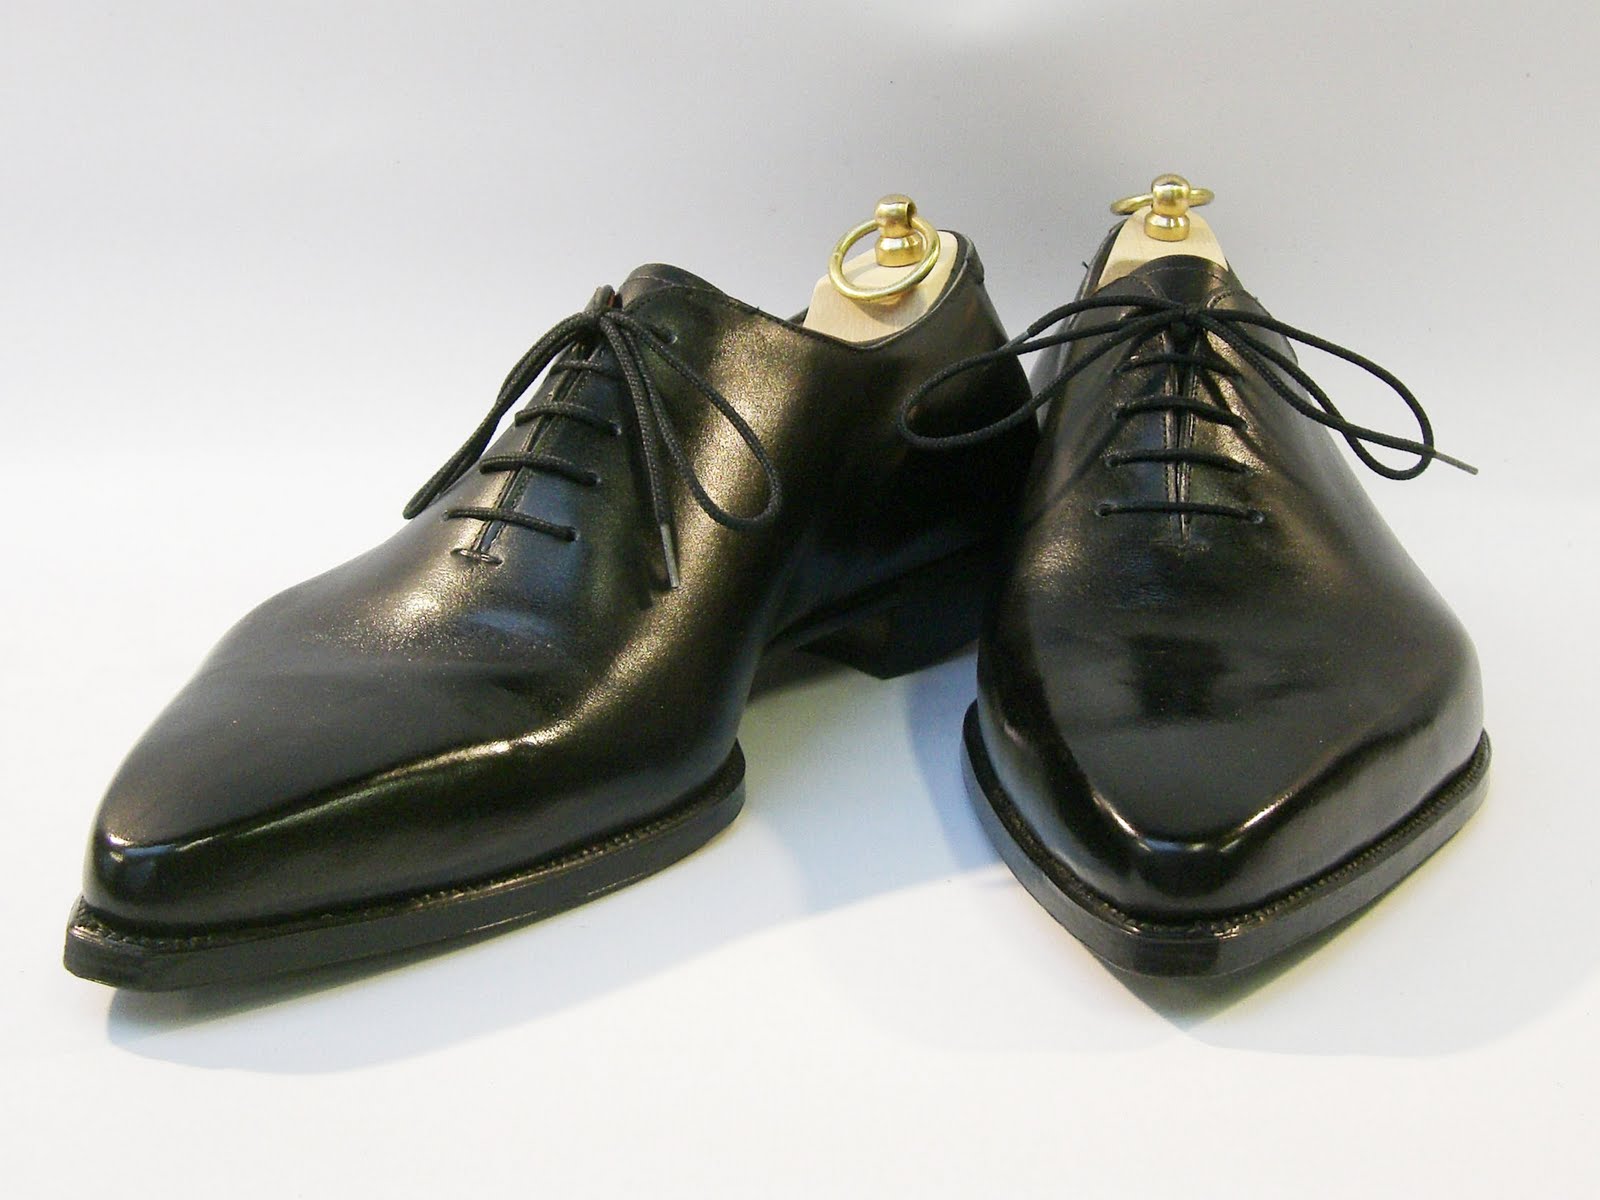
If you want to add material, this is how you do it. This method also works when you want to adjust a last after doing a fitting with a client. In this case, I am fine tuning the fit for a customer's second pair. He has painful toe joints and needs just a little extra room. And because his foot is so wide, he wanted us to lengthen the toe slightly, by 3/16", about 8mm. This will make the shoe look less wide and a little more elegant.

The basic method is to use leather or cork in strips which you glue to the last using contact adhesive. I use the waste toe puff leather which I save for this purpose.

Here are the lasts.


First mark on the last where you want to add material with a pen. Remember to make the strips longer than you need because you will need to blend the strips in so that you do  not spoil the smooth line of the last.


Skive the flesh side a little except for the part which is going on the feather edge. It helps to do it before you glue it as it is easier to do. You can even wet the leather a little on the flesh side before you skive. Make sure your knife is sharp!
Glass or rough up the skin side.


Glue both the skin side of the strips and the last. Let the glue dry, about 10 minutes.


Glue the strips in place. You can see it looks a bit ragged at the moment, but you are going to smooth it out.


You can see how the toe is elongated.


At this point you need to smooth the strips. I use a combination of my knife first for the major work and then a rasp to fine tune it.
It should end up looking smooth and seamless.
The top of the strip needs work because there is a small step.


At this stage I use thinner upper or lining leather to cover this step. Again cut out a piece slightly bigger that you need and glue both surfaces. Wait the 10 minutes and glue into place.


Repeat the smoothing process to look something like this.


You will need to keep measuring to check whether you have the right measure. I needed to make the toe longer, so I added another piece of leather, this time a bit smaller. But the process was the same.


I glued it on, skived and rasped it, and then added a smaller piece of upper leather. I measured again and it was the right amount, so I had finished the job.


You can see that the toe shape remains the same. This is important.


The final thing I do is to cover the whole area in contact adhesive and let it dry. This has the effect of smoothing the whole area so that when you make the shoe and take the lasts out, they come out more easily, especially if you use a liberal amount of French chalk or talcum powder.


This does not look pretty but it doesn't matter. This is purely a functional process.
You can do it anywhere on the last. Very commonly, we need to put a fitting on the instep to make tying the laces tight easier. On an oxford for example, the facings should be closed when you try on the shoe.

I do not claim to be an expert at fitting lasts, and a lot of this is learned by trial and error. I was in exactly the same position as a lot of you.
Also, this is a big subject area and will need more posts in the future.

If there are any experts out there, I would appreciate your input, help and advice. Please comment freely.

So, fellow shoemakers of the world, have a good week and, until next Friday, happy shoemaking!

Sunday, March 20, 2011

Winkers Easter Promotion

Our Winkers Resort Shoes Easter Promotion is now on at Wolf & Badger!

You can snap up a pair of Winkers from stock (sizes from 4 - 11.5) for just £175 (rrp £275) until the end of April. Visit our website to see a selection of the colours available in Harris, Dashing and Isle of Mull Tweeds, pop in to Wolf & Badger, 46 Ledbury Road, London W11 or call +44 (0)20 7229 5698 to reserve your pair.


Friday, March 18, 2011

Strengthening The Toe 2

Another week in shoeland. It has been a good one.
This week we received a few copies of a new book called 'Significant Figures In Art and Craft Today'. This lovely picture laden book is a cross section of craftspeople in the UK and is the brainchild of Derek Reay who has visited every craft included in the book and taken a portrait of each craftsperson and some shots of their workspace. The crafts move from clock maker to lace maker; stone carver to flint knapper; gilder to cooper. And, of course, little old us, The Other One and I, the shoemakers. Fantastic. It is a great feeling to be included in this wonderful book.

The Foreword for the book is by David Linley and it accompanies a touring exhibition of David's photos this summer across the country:

June: High Wycombe
July: Leeds
August: Bath
September: London (Chelsea)
October: St Ives / Redruth / Cambridge
November: Winchester
December: Leominster

Highly recommended and all proceeds go to Diabetes UK so it is also for a very good cause. The book costs £25 and can be ordered from Waterstones or from Derek directly if you email him via his website.


Phase 2 of the Gieves and Hawkes refurb is now complete. The front of Number 1 is looking amazing! Intense colours, great wallpapers and the attention to detail we at carréducker love. It's taking shape as the perfect space for the contemporary English gent. You can really see the vision coming through and when the map room is completed, it is going to look fantastic. Roll on April, I say.


Cool, huh?


Last week's post about strengthening the welt at the toe caused some discussion and we got some good feedback.
Emili from Spain sent a picture of his method of inserting a piece of thread into the inside of the stitches to add strength. This was something we used to do when I was making in Barcelona and works very well. Thank you for that Emili. We are always pleased to get stuff like this from our readers, so if you have a useful method relevant to what I am posting about, then please send it in.


Further to this, I was reminded of doing my apprenticeship with Paul Wilson of John Lobb because he had a similar method which is an elegant solution because it uses a waste piece of leather which is always to hand when you are welting (unless you use pre bought welt).
When you prepare the welt and you bevel one edge to sit flush with the feather edge, save a strip of this leather.


When you are welting and get to the toe, cut a strip of this to fit the toe and place it between the thread and the welt, like Emili's solution above.


Welt as normal, making sure the leather strip is trapped in the stitch.


Pull the stitch tight.


Continue round the toe and cut off any excess leather. It should look like this and it will definitely stop any stitches pulling through.


Any of these methods will work and you will have to experiment and see which one you like. I use the knot method but am willing to admit that the alternatives are also fine. There are many ways to skin a cat! What an odd expression, I would never want to skin a cat. Except maybe to line some winter boots...

So, fellow shoemakers, I hope you have a good week and let me know if you have any shoemaking revelations or mishaps even. Remember, you have to make mistakes as well if you want to get better. This process never stops - I am still improving, refining, experimenting and, yes, messing things up every now and then. I am just very good at hiding it!

Until next week, happy shoemaking

Monday, March 14, 2011

In The Fishbowl With Carreducker

We've had many visitors to the Goldfish Bowl. Most recently, Mr Pulvirent of Men's Flair fame - In The Fishbowl With Carreducker - Great to meet you Mr Pulvirent!

Friday, March 11, 2011

Welting The Toe

Greetings fellow shoemakers. I want to start by thanking all of you who read this blog. Whether you are one of our 89 followers, a regular reader, or just an occasional visitor.
We started it in 2008 with absolutely no idea what to expect. The first few posts were uncertain, but we gradually found our direction and it has built progressively. We are now averaging 300 hits a day which for such a specialist craft like ours is pretty amazing I reckon. There must be a lot of aspiring shoemakers out there!
So a massive thank you to all of you. It is really satisfying to know that there are so many of you who share our passion for this ancient trade.

This week I have been making a pair of lady's shoes with a stacked leather heel. It has proved very taxing and slow work because I simply do not do it very often and therefore I am finding it tough. With more regular techniques, I am so grooved that I can do it without having to think too much, I just let my fingers do the work. It is a great way to work.
It is the sole which I am finding so difficult. I will post a picture of them when they are done.
When I have to use a method that I do not use very often, it reminds me of the difficulties that most of you out there will be experiencing. It is almost like working blind because I know how it is supposed to turn out and I know how to do it, but I am never sure until the sole is finished whether it is going to work out or not. Add to that the fact that they are for a client, and you have a bit of pressure.
Teaching our course regularly has a similar effect. What I am saying is that I understand how hard it is for you guys out there who are making shoes on your own in your garages, garden sheds, spare rooms or basements.
But the rewards are great - that feeling when you iron a bevelled waist and it looks perfect; when you stitch a sole and it is totally even; when it turns out to be the right thickness all round; when you turn a shoe over and the waist/heel curves are gorgeous; when you pull the last and you have a pair of shoes that you have made yourself. all these moments are amazing. I still get it even now. A mixture of pride and wonder. Did I make those? Fantastic!

I had a request from someone who was having problems with the welt around the toe. They said it was weak and floppy. I think there may be 2 reasons for this.

The first is to remember that when you are welting you want to do 3 - 4 stitches to the inch. Along the sides of the shoe, this distance is the same on the inside and outside of the holdfast/feather. But when you get to the toe, the distance between the inside curve and the outside curve is very large, especially on a very pointed toe shape. This means that you have to space the stitches much closer together on the inside so that they fan out as they reach the outside giving you the 3 - 4 stitches to the inch (see below).
The other thing is to start angling the stitches quite far back before you reach the toe to give yourself more space to make the stitches because you soon run out of space on the inside track (see first picture).


The other consequence of welting around the toe is that the tiny spaces between the stitches on the inside track make it very easy to pull the stitch through the holdfast/feather itself when you pull the stitch tight. That horrible ripping sound and you know you have done it. This is not so bad on the sides where the body of the holdfast/feather is strong and the stitches either side compensate for the pulled stitch. But round the toe it can really weaken the welt.

The solution is to make little knots on the inside to form a solid plug which is too big to pull through the hole in the holdfast. And here is how you do it.

Make the hole as usual with your awl and pass the bristles or needles (yuck!) as normal. The black thread in the second picture is where the bristles are attached. I am going to number them, starting with the black one, 1 to 3. Depending on your stitch, sometimes 1 and 2 are reversed, but it does not matter.


Lift the bristle thread (in this case 1 but sometimes 2) up and over the other two to position 3.


Wrap it under thread 2 so it goes to position 2.


Pull it tight, but slow down as it approaches the end of the thread. You can see the beginnings of the knot.


Before you pull tight, push the thread right up tight against the holdfast. This is to stop the knot forming far from the holdfast which would stop it forming a barrier to pulling the thread through.


Pull the knot tight and you can see that it forms a ball right up close to the holdfast and pull the stitch tight as normal. The knot ball is too big to pull through the awl hole and so saves your stitch. Do this right round the toe and it will keep it strong. Cool huh?


If you try this, let me know how you get on.
I reckon that is about it for this week. Have a great week and, until next Friday, happy shoemaking!

Friday, March 4, 2011

Independent Shoemakers Conference

Welcome back shoemakers of the world. I am filled this week with a sense of community and togetherness. And what has inspired such warm and wooly feelings? Well, I will tell you. Last Saturday, the Other One and I went to the 11th(?) Annual Independent Shoemakers Conference

This is a gathering of shoemakers from around the country (and some from Sweden and Ireland). It is a weekend event, but we only went for the day. There were 4 seminars on various aspects of shoemaking, some more relevant than others, but the point is that you learn at every one. Seminars included websites, design, the biomechanics of gait, a new way to make mock uppers for fittings. Lots of interesting stuff.

What makes it stand out is that it is very friendly and relaxed. They welcome anyone, even if you are only a student of shoemaking or just starting out. And people are very willing to share resources, contacts etc. We found some new suppliers which is great.

One highlight was an explanation of these boots from Peter Schweiger owner of James Taylor And Son. As orthopaedic as they look, they were actually made for a client with perfectly functional legs but who had a fetish for this type of boots. The story goes that he went to the shop to pick up the boots and was trying them on in the changing room. He got so excited that he had a heart attack and they had to call an ambulance and rush him to hospital. Fortunately he survived, but he decided that his particular fetish was maybe not the most healthy and he decided to leave the boots with the makers. An expensive lesson I reckon, £5000 and a heart attack. Funny story though.


Next came an interesting method to create a try on upper very quickly from EVA foam. This was from Phil Taylor aka The Cordwainer who organised the event (a big thank you to him). Basically you roughly cut the pieces to size, glue them with contact adhesive and put them in an oven at about 170 degrees for a few minutes. Once it is hot, you simply lay the pieces on the last and smooth it on. As the foam cools, it shrinks onto the last and stays there. You then glue the next piece on and you end up with an upper which you can cut and shape and use to test the fit of your last. It is amazing really. Phil says that he sees a client and spends half a day with them and in that time, he will have a last fitted up and a try on done. Fantastic really.

Demonstrating is his son James.


The last snippet is a quick method to get an accurate leg measure if you are making long boots. Demonstrated by Phil Taylor on Bill Bird. Simply place a plastic bag around the leg and then tape it up with packing tape. Then cut the bag down the front of the shin. You then have a very accurate template for the leg. The average allowance for the upper is to add 20mm to your measures.
One thing to remember is not to cut the customer's sock when you cut off the bag as Phil does here. Luckily Bill saw the funny side because we all thought it was hilarious.


Did you know that you don't have kneecaps till you are about 6 years old? Or that your inner ear tells you which way is up? Or that toddlers don't walk like us? And neither do 6 year olds for that matter. Well all the more reason to go to the conference. Bill Bird gave us a fascinating seminar on the biology of walking and gait. The foot is an amazing piece of kit and it is in our interest to know about it.

Lastly, back to fittings from last week. Here is the final point in getting the uppers ready for the fitting stage. The fake sole is glued on and the fake heel nailed into place. It does not look much, but is perfectly functional and gives you a perfect way to adapt the last correctly.

Let me know if you have a go.


So people, that is it. Have a great week and, until next week, happy shoemaking!