Friday, April 29, 2011

Through the looking glass (aka the goldfish bowl)


So many p
ress came through the doors last week it's going to be hard to keep up with their musings on Gieves' fabulous new emporium and business plans, but here are a few select words to give you a flavour of things to come...

CNBC Business Magazine - Gieves CEO Mr John Durnin sets out his vision for Gieves and we get a great name-check (see second-to-last paragraph!) although we're not too enamoured with the 'zoo exhibit' comparison...
French Truckers - thanks for stopping by guys and hope to see you in-store again soon
Permanent style - good to see the charming Mr Crompton immaculately suited on his recent tour

Mr Ducker is taking a break from blogging this weekend - so for now here's a little taster of the new Gieves.

Enjoy a great Royal Wedding day tomorrow - our warmest wishes to Wills and Kate; have a great weekend and, as it's yet ANOTHER Bank Holiday weekend here in the UK I'll be back making in the 'goldfish bowl' on Tuesday.

Friday, April 22, 2011

Gieves And Hawkes - The Launch

I love life! Curious fact of the week - Eritrea has been the 10th biggest traffic source to this blog over the last week. So to you all you Eritreans, I love you guys!

What an amazing week! Tuesday saw the official launch of the fully refurbished Gieves and Hawkes flagship store at No 1 Savile Row. It was marked with a Press Day which was attended by the great and the good of the international luxury press.

The Other One and I took it turns to make shoes in the Goldfish Bowl while the other, press pack in hand, chatted, schmoozed and generally charmed the assembled luminaries. We met some very influential people, including editors from Wallpaper, GQ, Esquire, Mens Health and various journalists from the FT, Times, Sunday Times, Quintessentially, Metro, ES, Telegraph and a host of freelancers (and that was just the ones I met, The Other One met a whole lot more). So if that little lot doesn't get us some coverage, I'll swallow my newly sharpened knife.

Number 1 is completed and it looks amazing. The final piece of the jigsaw, the Map Room, with its newly expanded gallery looks superb and provides the link that all the previously completed areas needed to make a coherent and welcoming whole. The building itself is a beautiful canvas on which to create, and John Durnin, CEO, and his team have done a marvellous job, full of humour and curiosity.

They aimed to create a destination retail space for the modern English man, and to do this they have incorporated new elements. This is where we and the other concessions (Bentleys, Gentlemen's Tonic and Bill Amberg) fit in, providing services which Gieves previously didn't offer. Add to this the new environment, with its comfortable sofas, eclectic vintage furniture and David Hicks inspired decoration, you get a place where a gentleman (and the odd scoundrel) can outfit himself; shod himself; get the best shoe shine in London; get a wet shave; a new wallet; and buy a gift for the other half, all under one roof.

But I think the crowning glory is the gallery upstairs where the Gieves military archive has its new home. This space is open to the public and houses some of the most amazing military coats, helmets, swords, and general martial paraphernalia, all watched over by the tame seagull, Horatio. It is like a museum itself and takes a good half an hour to look round. I especially like the orders for equipment from the Duke of Wellington and Lord Nelson.

Horatio On His Perch


And for those of you who like bespoke (suits or shoes), there are hidden areas where VIPs are taken which house further treasures not open to the general public. The Bespoke Lounge on the first floor is beautiful (I want my front room to look like that, well, maybe without the Damian Hirst above the fireplace) and the portrait wall at the top of the art laden Georgian staircase (Bridget Riley, Banksey, etc) is fantastic - Prince William to Michael Jackson, Sean Connery to Princess Diana, David Beckham to David Niven, they are all there, all the icons dressed by Gieves and Hawkes.


I think it is fantastic that Gieves' heritage has been placed front and centre, and I am especially pleased that carréducker is a part of this exciting rebirth.

Come and see us the next time you are in the West End. We are all very friendly and you won't want to leave!

The View From The Gallery

Right A Bit

Up A Bit. That Ceiling Is A Talking Point

Myself And The Other One. We Scrub Up Nice!


Shoe Lights - It's Art, Baby!

Front Of House

Helmets


Justin Fitzpatrick, aka The Shoe Snob, Giving A Military Shine

So, fellow shoemakers of the world, have a great Easter weekend, and, until next week, happy shoemaking!

Saturday, April 16, 2011

A Well Earned Break

Apologies fellow shoe afficionados for the late post. We shoemakers are busy folk, especially those of us who run a business as well as making beautuful hand crafted bespoke shoes. With this in mind,  I took a well earned day off yesterday to attend a very old friend's wedding in Manchester, which is where I find myself right now. It was a wonderful day, but it meant that I could not post my regular Friday entry.

So here we are a day late.

Last Sunday saw a great article in the Sunday Telegraph magazine about the re-launch of Gieves and Hawkes which gave carréducker, The Other One and myself a direct namecheck. Fantastic. And this week will see the official opening of the revamped store, so watch out for us in the press as the story takes off.

I have a couple of recent client pairs to show you this week. The first is an interesting pair of pigskin derby shoes. Pigskin is not a common leather to use and it has a gentley grained surface. The client wanted an antiqued, multi-tonal finish, so we bought some light tan skin and experimented. First we deglazed it and then applied a mixture of brown, yellow, red and orange leather dyes in repeated layers. We applied a deep colour and then washed some of the dyes off with solvent by rubbing it across the surface of the leather. This had the effect of bringing out the original tan colour of the pigskin on the flat surface while the new, darker colours stayed in the pits of the natural grain. This had a really lovely result. The finish was very uneven tonally, but it was beautiful. We ended the process by giving the finished shoes a very high military shine. The result is great and the customer was very pleased.


The second pair is a black wholecut with a red glace kid lining. Very pointed toe shape, but the client is tall, so the proportions were excellent. To accentuate the shape, we did a spade welt, throwing the welt out at the joints and at the toe. The result is an elegant, striking shoe. Get yourself seen!


And that is that for this week. I wish all of you a great week and until next Friday, happy shoemaking!

Friday, April 8, 2011

Sharp Knife Or Blunt Knife?

Friday morning again. Where does the week go? It feels as if the Spring has finally arrived, we have had 20 degrees and sunshine which is lovely. On my cycle in this morning I saw a group of ducklings on the canal which is a sure sign - tiny and very cute.

So, with the sap rising, I always turn to general thoughts about where I am and what I am doing. With respect to shoemaking, I had a thought this week about my knife. Now for those of you who make shoes, you will know how important your knife is. And for those of you who aspire to making shoes, the knife may not seem to be something you would worry over, but let me tell you, your knife is the most important tool in your kit and it can be your best friend or your worst enemy. We shoemakers use the knife all the time, from blocking the insole to building the heel, all day every day. And if it is sharp, life is rosy and all is good in the world. But if it is blunt, then a dark cloud descends and many a curse will be heard from the shoemakers workshop.

Here in England we use a flat steel paring knife for making bespoke shoes. They come in various sizes. The ones we use are about 22cm long and 2cm wide. The image below is from an old Barnsley catalogue who used to make every shoemaking tool you can imagine. Unfortunately things are not so easy any more and you have search a bit harder to find tools these days. You can see that there are lots of different sorts, but the little fella we are talking about is the one with the asterisk. Various sizes were available and we generally used the number 20 or 21. I tried the big monster above but it was a bit unwieldy.


As you can see there are so many other kinds of knives, but I generally only use the plain old flat paring knife.

When you get a new one (they last me about 3 years), you have to spend a good while sharpening it. They arrive very blunt with no real edge.


I use a grinding machine to get me started. This is the only time I use it, as the heat from the wheel does something to the steel and it does not stay sharp as well. There is a technical explanation for this but I do not understand metallurgy! It's called annealing apparently.


On the knife, you are looking to get an angled bevel on one side and the other side must be completely flat. So with a new knife, I only use the grinding wheel on the bevelled side. It should look something like this.


Now the fun bit starts, the hand sharpening. This is the first job which our students do when they start the course and they spend a good part of the first day getting the knives sharp. I can't stress enough how important this is. With a blunt knife you get lots more cuts because you strain much more to get the knife through the leather.

We sharpen our knives using a strop. This is something you can make your self with a piece of wood. It is better to have 4 sides rather than 2 so that you can have different grades of sandpaper/aluminium oxide paper. One surface must have a piece of leather on it. Wax calf is best, but the flesh side of regular calf is fine. Glue it on and rub jewellers rouge into it. This is a mild abrasive and help take off the burrs from sharpening.


You need to glue ali oxide paper or sand paper or electrocut paper if you can get it onto the other surfaces.
To sharpen the knife, you must hold it first on the bevelled side and hold the it at a tiny angle to match the bevel from the grinding wheel. Move the knife up and down the strop in a smooth regular motion. You must press down though. Continue until it gets too hot. Let it cool and start again. You are aiming for an even grind on the edge.


Now turn the knife over and do the flat side. Hold it firmly flat against the strop and move it up and down like before.


After repeating this a few times, place the edge on the leather strip with the jewellers rouge on it and move the edge up and down. This is like what barbers do with their razor and just gives a fine edge to the knife. And that, as they say, is that!


This sharpening routine is something I do all the time. Every few cuts, just top up that edge to keep it super sharp.

This all sounds great and it is how I do it, but I have an admission to make. My knife is not as sharp as I would like. In fact some would say it is blunt. Shameful as it sounds, it is just something I cannot seem to get right and I am so envious of shoemakers with sharp knives. We all have weaknesses and this is mine.
I have tried other things. Diamond sharpeners, wet stones, oil stones, but I just cannot get there. Don't get me wrong, my knife is fairly sharp and gets the job done, but it could be better.

So if any of you out there have a different way, a way that works, any tips to help me, then I would love to hear them. Please!
You know, it feels good to get that off my chest. I can't sharpen knives properly! It is a bit shameful though.

Finally, here are some videos of a Japanese master shoemaker and he has a completely different kind of knife, but it is soooo sharp. I want one! And how does he sharpen it? I think the Japanese know a thing or two about blades. That knife is just awesome! They take a bit of time but are well worth it.

Japanese shoemaker video 1

Japanes shoemaker video 2

Japanese shoemaker video 3

Friday, April 1, 2011

Stacked Leather Heels

Welcome back fellow shoemakers of the world. Another exciting week in shoeland.

We saw one of our old interns and fellow shoe freaks this week who brought a friend of hers to talk to us about a project he has to make high end sneakers. All very exciting and lovely to see her again. It is a great feeling when people start asking you for advice. Who me? you think at first, and then you think well, why not me? We both have a lot of experience in this game now. Who would have thought, eh?

Things are afoot at Gieves and Hawkes. The boards on the gallery in the Map Room have come off and previously covered up windows are letting light flood in again. The space is going to look amazing when it is finished. Roll on April and the big launch. Very exciting!

The Other One was very much the film star this week. She spent a whole day being primped and preened for the camera. More on that when the film is released, but until then it is a bit hush hush. They didn't want me in it for some reason. A face for radio is how they politely put it.

Now, back to bespoke shoes.

I would say about 95% of the shoes we make are for men, so when a lady orders shoes from us I am a little concerned. The reason is that, while I know how to make ladies shoes, I do not do it with any frequency, so I am not grooved in the techniques at all. This means that every stage is a struggle and I have to concentrate really hard to get it right.
It's funny because with bespoke shoemaking, as with any highly skilled craft, the more you do it, the less you have to think about it. It's as if your hands and subconscious brain do the work while your conscious mind is free to think; listen to the radio; chat with colleagues; or simply zone out. It can be quite meditative. Hours can pass without you noticing - I love that zone.
People call it muscle memory, which is only partly true because your brain is still heavily involved, just not a bit of it you are conscious of.
Do any of you get into this state while making handsewn shoes?
I am getting a book title here - Zen And The Art Shoemaking.
I know, it's been done before. Really showing my age there.

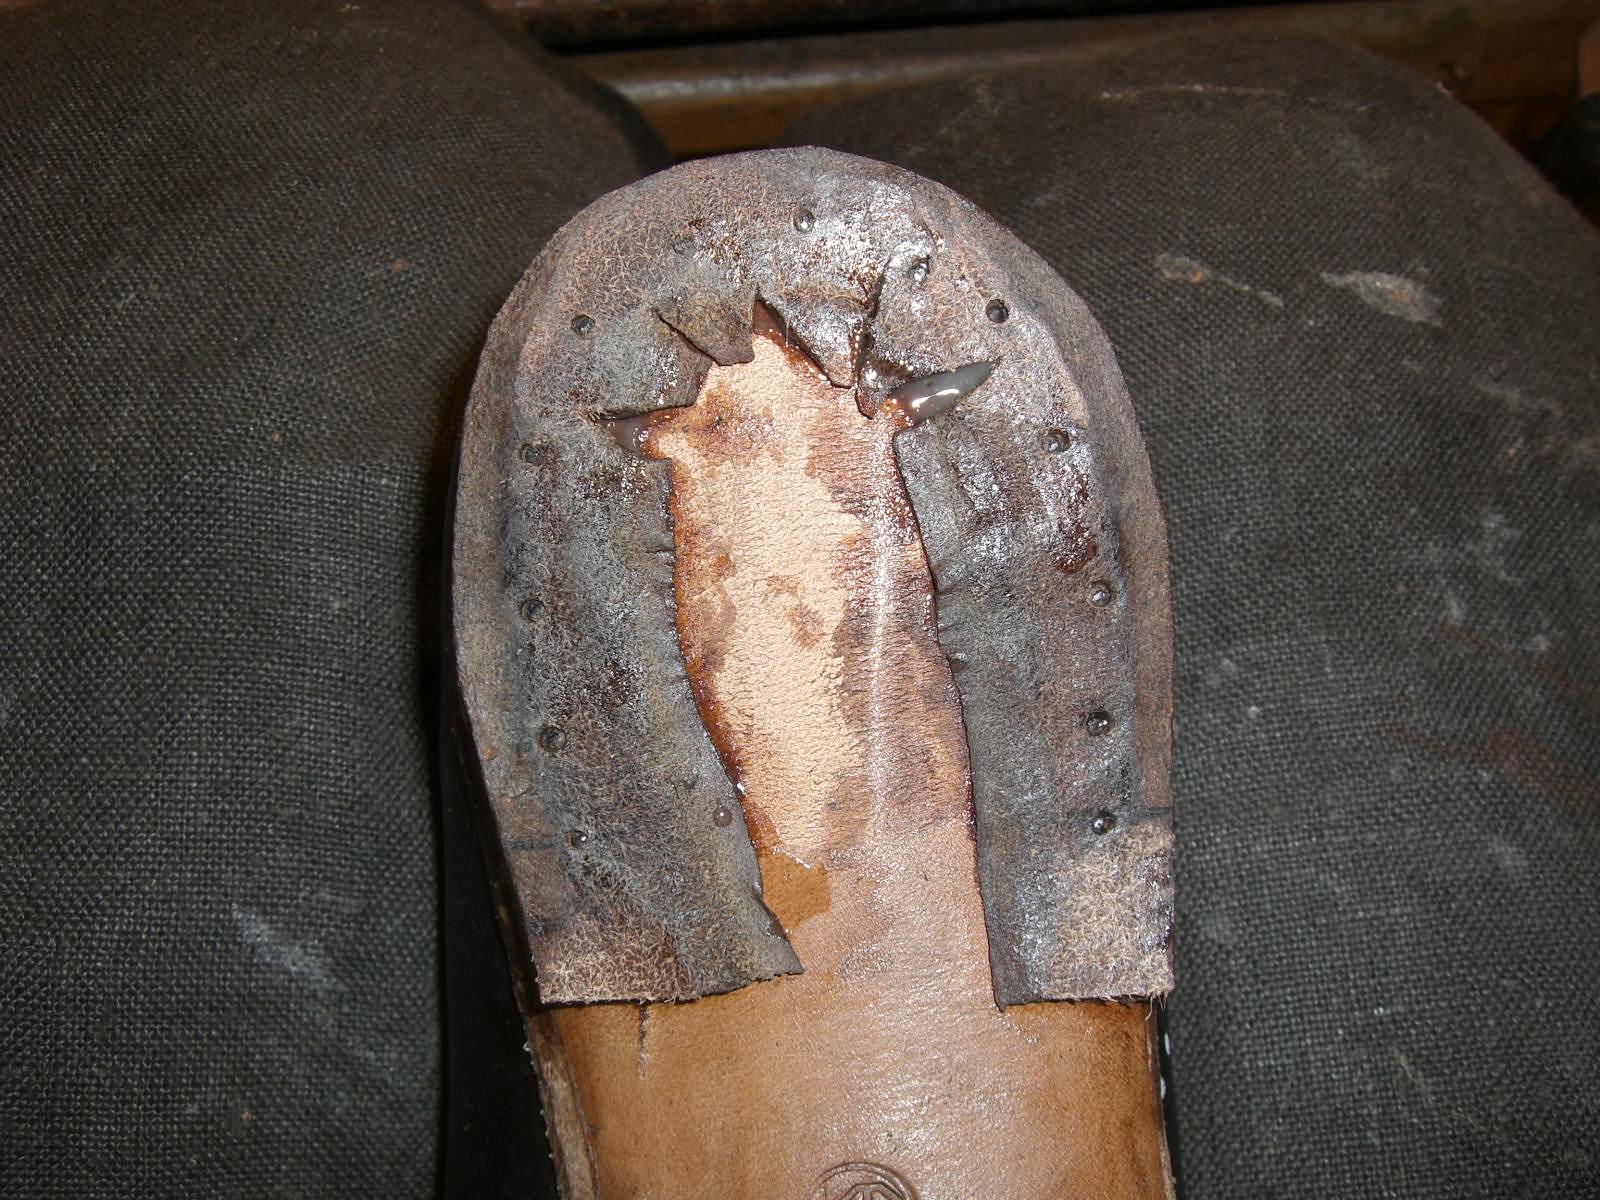
Anyway, ladies shoes. I recently made a pair with a 2 1/4" stacked leather heel. This is a specialist technique which is broadly similar to building a man's heel, but with a few extra complications to bear in mind.

Having stitched the sole, you are ready to build the heels. Start with the split lift or rand as normal. Paste and nail it into place. Make sure you glass or rough the surface of the sole at the heel first.
With your knife you can start the flattening process by skiving the split lift/rand flat.


You will need to make sure you have enough lifting leather in a mellow state (fully soaked in water and about 80% dry) to build the heels. Draw round the left heel first. To make life easier and the heels the same height, mark that bit of leather with a 1 so that when you come to build the right heel, you know which piece of leather to use first. This way the same thickness of leather is at the same point on each heel.


Put some paste on the heel, place the lift on and put 3 nails in the centre in a triangle shape. You can put a row of nails into each lift, but I do it every second lift. This has the advantage of making the heel lighter.
With the 3 nails in place, you should be able to see where the surface is not flat. With your knife, try to skive away the lumpy bits. Place the back edge of your knife flat on the lift to check its flatness.


Before you glue each lift in place, you must either glass the skin side or rough it with a killer toothbrush. I don't know what this tool is really called!


Draw round a second lift, cut it out and glue it on. This time you can put a row of nails through both lifts.
This is the bit that makes me nervous. With a man's heel, essentially it is straight up and down. You might pitch it under a little, but putting in nails is fairly easy.
The trick with the nails is that you want them to be as close to the edge as possible so that they hold the edges tight, but not so close so that when you are shaping the heel they are revealed.
So on a high ladies heel which has a steep pitch you have to be very expert at judging where the final pitch of the heel will be and not put your nails too near the edge. You need to have a clear idea of how the final heel will look.
So draw your line for the nails. I do this by holding the shoe at eye level with a pen on it and rotating the shoe wile keeping the pen still. It seems to work well.


You end up with a line like this. Mark the heel points and a line 1cm behind for the last nail.


 Hammer in your nails. You must mirror the angle at which you are going to pitch the heels when you are shaping them. Punch the nails with a nail punch and do the skiving flat process as before.


At this stage it is a good idea to start the shaping process with your knife, so that the heel begins to take its final shape.


Continue building lifts; putting in nails; and skiving flat. The heel gets higher. As you reach your target height ( as dictated by the spring on your lasts), you must put the shoe on a flat surface and check how it is sitting. It must not rock. It must sit steady and flat. The flat of the heel must correspond with the flat of the sole unless your last has a deliberate twist on it (unlikely). The right height is when you can put your finger under the toe when the shoe is on a flat surface and it fits snugly.


Keep building and shaping as you go. And don't forget to include the height of your top piece in your calculations. With a ladies heel this is usually synthetic because the surface area is smaller so the forces of impact when you walk are more concentrated and so a synthetic top piece is more durable.
When you are happy, mark the heel breast and cut it.


Et voila! A heel. Finally, you finish shaping it and you are ready to do the finishing.

As an extra piece of information, if you are building a very high heel or one with a complex shape (with curves for example), I was taught that it is better to do it on a board. Build the heel upside down on your cutting board. Shape it, glue it and nail it as normal and when you are happy with it, take it apart and build it on your shoe. It takes longer but the results are flawless.

Finally, I reckon the highest stacked leather  heel you can build is about 2.5". After that it becomes very heavy. If you want higher heels, you should use a covered wooden one - but that is a whole other technique!

Anyway, hope this is interesting and, until next week, happy shoemaking.