Great publicity for us too
Our summer handsewn shoemaking course is fast approaching and, this week, I prepared the making packs for the students.

Unfortunately, one of the students has broken her leg and has had to pull out, so if you want to, and can, do a two week intensive shoemaking course starting on the 8 of August, then contact us and we will give you more details (cd@carreducker.com).
We have also published dates and prices for the 3 courses we will be running in 2012. Check here for details
Ok, so left you last week with your sole hanging above the void, hammered but not fully skived. Fear not, though, dear readers, here is where you have to go with it.
The sole is hammered and you have an accurate pen line of the outline. Now is the time to cut to this line. It is really important to be precise here, and make sure you hold your knife straight up and down with no angle.

Once you have cut it, place the welt back onto the sole and check the line. You will probably find that the sole flares out somewhat. Holding the sole and welt together, carefully cut away the excess leather from the sole.
Finally, check that the sole is correct all the way round, perpendicular and even. There is no margin for error, as you will see.

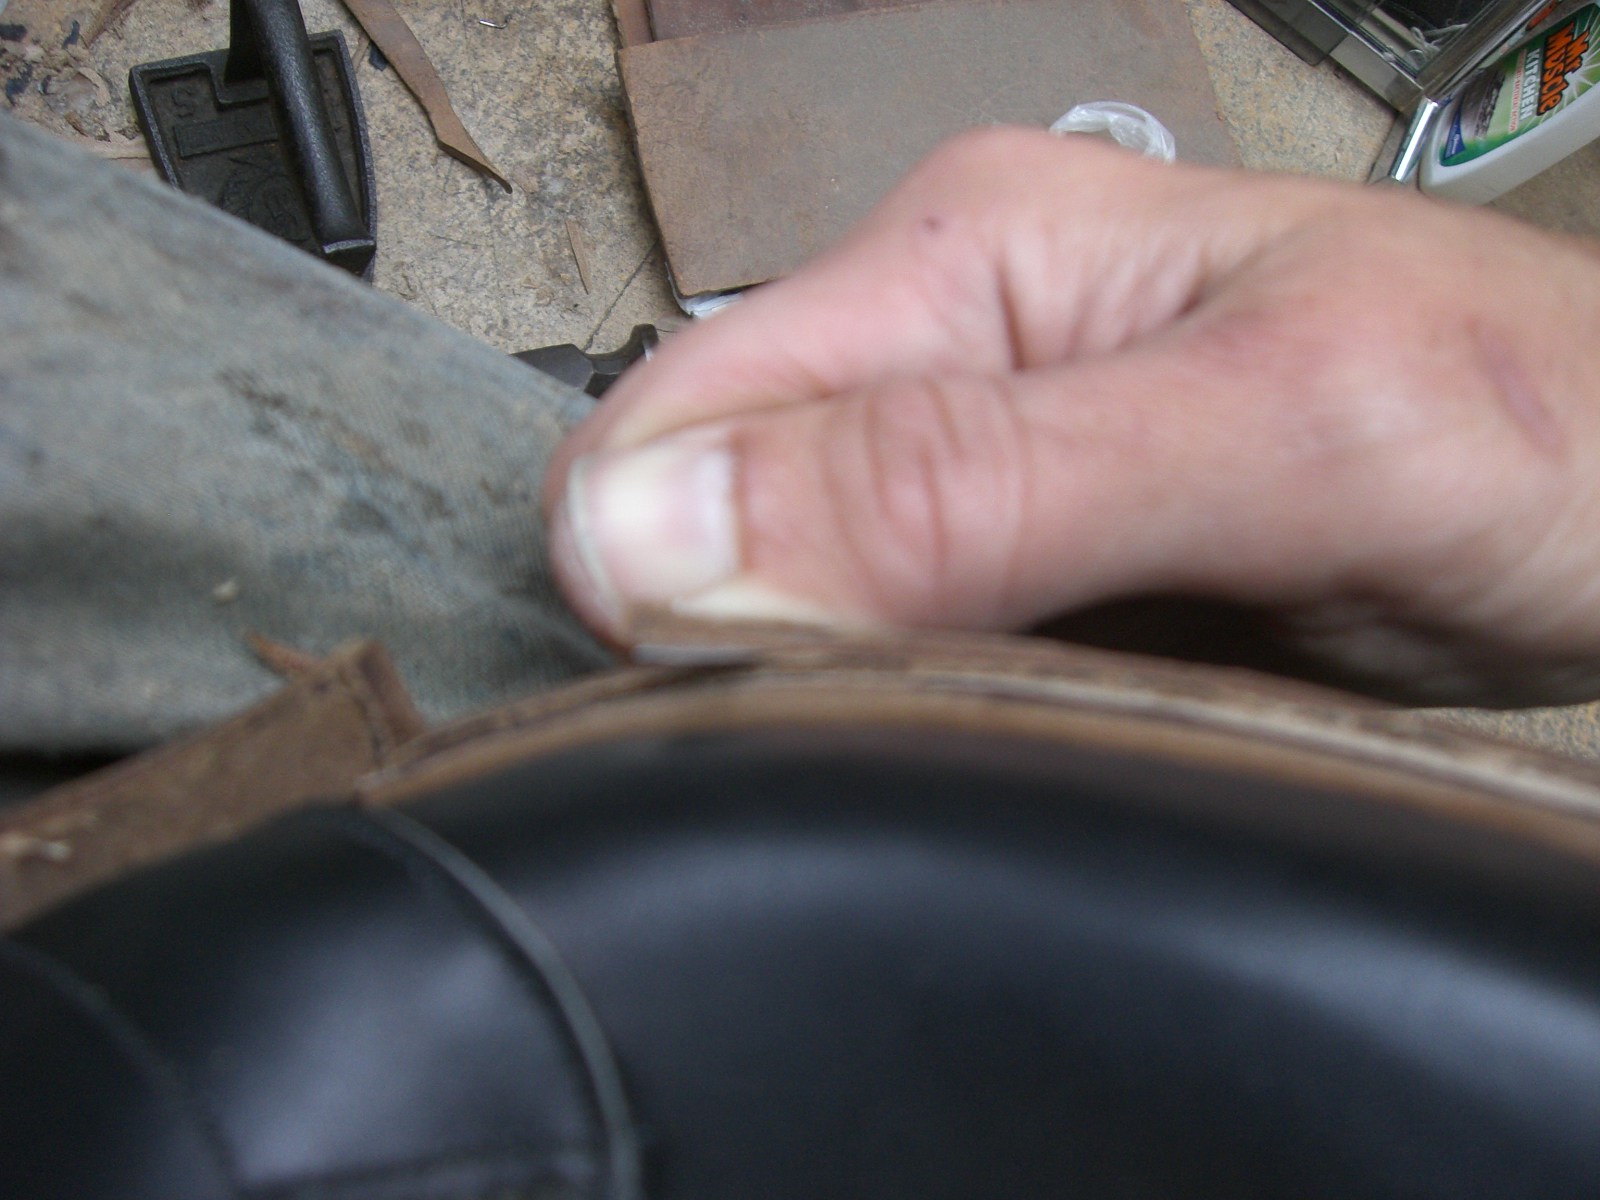
Now comes the measuring part to check the sole/welt combined thickness. Before you do it, it is a good idea to beat the welt again to compress it and I always run my thumb nail around the skin side edge of the sole to flatten it and give you an accurate measure.

Place the two parts together and measure the thickness. Do this at various points around the sole. You can see that my measure is 3/8". I want a 1/4" sole so I need to lose 1/8" (2 of the little bars on my ruler for all you metric people). However, if you remember from last week, at this thickness, the final sole thickness will reduce, so I have to leave half a bar (1/32") extra to allow for this.

So, on my sole, I draw a line which is 3/32" wide. This all seems very precise and it is, which is why I recommend that you only try this is you have made a few pairs of shoes first. The other thing you need to watch out for is the variation in thickness along your edge. This you need to account for when you draw your line

Now your line is drawn and you should be happy with it.

Skive off the excess, bevelling the cut to about 1/2" wide (see below). Be even with your cut. The last thing I do is glass this cut to even out any lumps and bumps you might have left with your knife.
This is the point where it becomes apparent how important cutting the sole EXACT to the welt is. You have skived off some leather here and you have done it on a sloping angle. This means the edge is exactly the thickness you want it. If you now glue it to the welt and stitch it, but after discover that the sole is too wide, you would have to cut it off. This would mean that the exact thickness would change. It would get thicker and you final thickness would be the original 1/4" plus the extra you have trimmed off, ie, not the thickness you (or your client) want. So be accurate and precise!

The last thing is to measure your final thickness. If it is a full 1/4" (in this case), then you are ready to stitch the sole on. If it is not, then continue to skive until it is perfect.
I hope that is clear and I would happily answer any queries you may have.
I hope you all have a fantastic week and, until next Friday, happy shoemaking!