This week we finished the second shoe in our Mayfair Collection, a series of all black classics, including a straight cap Oxford; a wholecut; a wingcap derby; and a saddle loafer. There are slight differences to the left and right shoes to give the client an idea of the options available. The Mayfair Collection is the more sombre side of our design ethos, showing the customer that, with sleek curves, timeless toe shapes and a beautiful waist, carréducker can deliver you to work, not only in comfort, but in understated style too. You sold yet?


Punch detailing is available on the toe.

And so to making, this week I am going to take you through the genesis of a pair of shoes from start to finish. And I have picked a fairly interesting shoe to do it which has a few surprises.
These are for one of our favourite clients who always chooses interesting styles and colours. Remember those lovely pigskin Derbies?

And the Norwegian welted grain boots?

Well, here are his next pair. Starting off with blocking the insole. Soaked insole shoulder. Glassed the skin side. Chalk on the skin side and ready to go.
He has arch support, so we left it full on the inside waist.

All blocked and ready to rock.

Cut the waist support (insole up in waist) to the mark and do both lasts.

Skive away so that it is smooth but still has substance.

Draw the line of where the cover will reach. It must go under where the sock will eventually be.

Make a paper pattern with an overlap onto the other side.


Cut two pieces remembering to reverse the pattern for a left and right.
Skive as in the picture.

Cover with contact adhesive. Also the insoles, which you have taken off the lasts at this point.

Glue the side where the sock will be first along the line you drew. Then turn it over and make some notches in the leather.

Fold down the kid. Don't you just love the grape coloured lining?

Nail the insole back in place on the last.

Prepare your insole as normal.

Insert your stiffeners between the upper and the lining. Noticed the colour of the upper yet?

Last the forepart as normal, leaving the heel about 1cm above the top of the last.

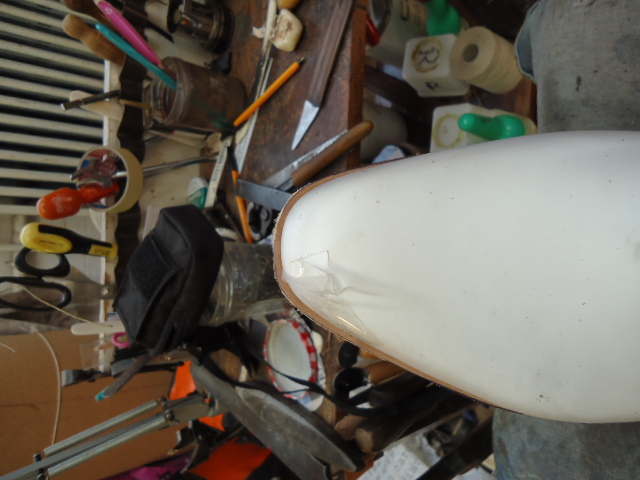
Pull down the back and nail in place. White uppers! There is a surprise here though.

Undo the forepart and last on the toe puff.


Shape it with your knife and a rasp. Then glue in the side linings. Shape them too to get a smooth transition.

Re-last the upper at the front and welt the shoes.

Leather shank and cork filler in the forepart. Looking good.

Trim the welt to the desired width, in this case, a regular welt.
And that was the first day. More in 2 weeks because I will be in Chicago and New York next week and the lovely Deborah will be blogging next time.
Wish me luck at out trunk shows.
So until we meet again, happy shoemaking!