As I write, the Titian haired Deborah is in Chicago on the first leg of our trunk show, seeing old customers for fittings and new ones for orders. Tomorrow she will be in New York and then back home on Monday. It has been a successful trip so far and let's hope this continues for the remainder of her time there.
This week saw a great (if brief) mention for us in the BA High Life magazine in an article about men's footwear in England. Great to be mentioned in such august company. A big thank you goes to Mr N Foulkes.
And the New Craftsmen pop up shop at 5, Carlos Place in Mayfair, London has started. They are featuring a pair of our boots and a dog collar we designed to match (very fancy, but it is Mayfair!). And there is a raft of other fine crafts from the British Isles - well worth a visit if you are in London
And so to all things shoemaking. This week I made a pair of pretty regular black wholecuts, their only distinguishing feature being a midsole. Midsoles are pieces of leather which you attach to the welted shoe before you stitch the sole on. They can be full midsoles (all the length of the shoe) or half midsoles which finish just behind the joint.
Generally they are used for two reasons. One to add thickness to a sole without adding too much stiffness. The hide we use for soles is very dense and hard and if you want a really thick sole and just use it alone, you can end up with an entirely inflexible shoe which makes the wearer walk like Frankenstein's monster. The second reason is to make a light square waist.
As many of you know (and for those who don't) a square waist is when the stitching starts at the heel point and goes all the way round to the other heel point. Usually, the thickness of the sole is the same all the way round.
Sometimes, for lightness, customers ask for a light square waist which requires a half midsole. And here is how you do it.
Take a welted shoe (a pair is usually better however) with a shank and filler with the welt trimmed.

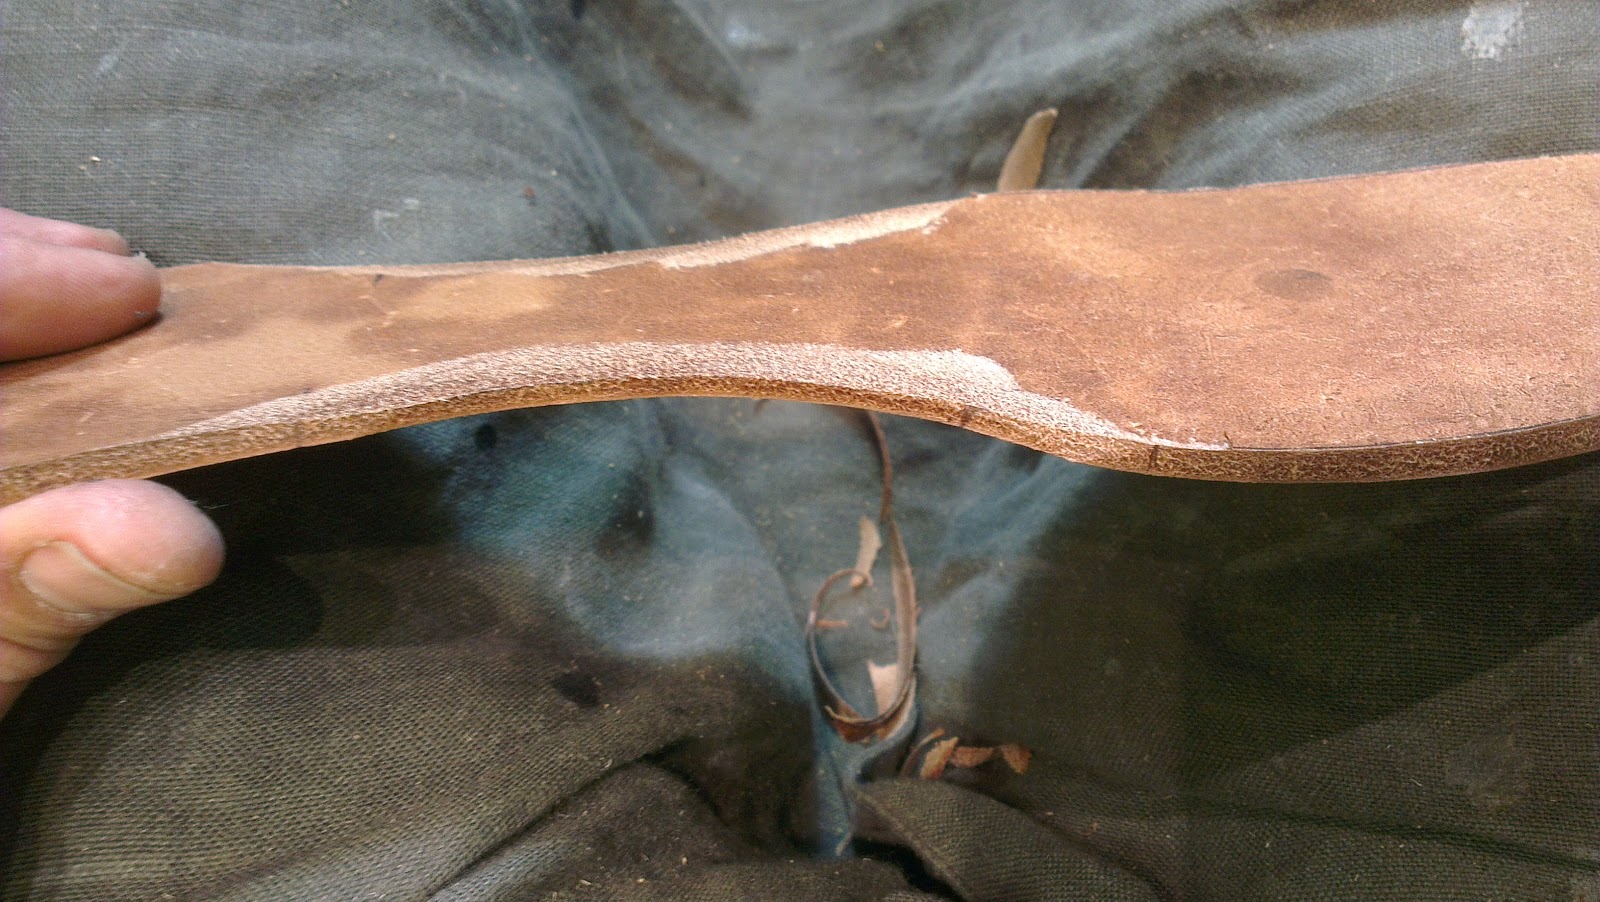
For this midsole I used a piece of belly, but a stiff piece.
Place the shoe on the midsole and draw round leaving yourself a margin. You need to mark the joint too (the widest part of the shoe at the front) and mark a line 1" behind it. Cut out your midsole.

Skive the midsole from the joint mark back to nothing.

Use contact cement and glue the midsole in place following the lines you have drawn. Glue it skin side up.

Hammer it into place. And trim it to the welt.

Prepare your sole as normal.

At the joint where the midsole is, mark where the skive starts and finishes. Mark this point on your sole too.

From the marks back towards the heels, mark a line to half the thickness of the sole.

Skive this line to thin the sole. If you want a very flat waist, you will have to skive all across the sole. If you want a slightly domed waist, you can just skive at the edges - it depends on your house style.
Cement the sole to the shoe with contact adhesive.

Attach the sole and trim off the excess.

Stitch as normal. You can see how the midsole looks in this picture.

This shoe is not finished, but you get an idea of how the waist is much thinner. It gives a slightly more elegant line to the sole, a slightly dressier look. Nice, huh?

And that, as they say, is that. We hope you have a great week and look forward to next week's exciting instalment. Until then, happy shoemaking!