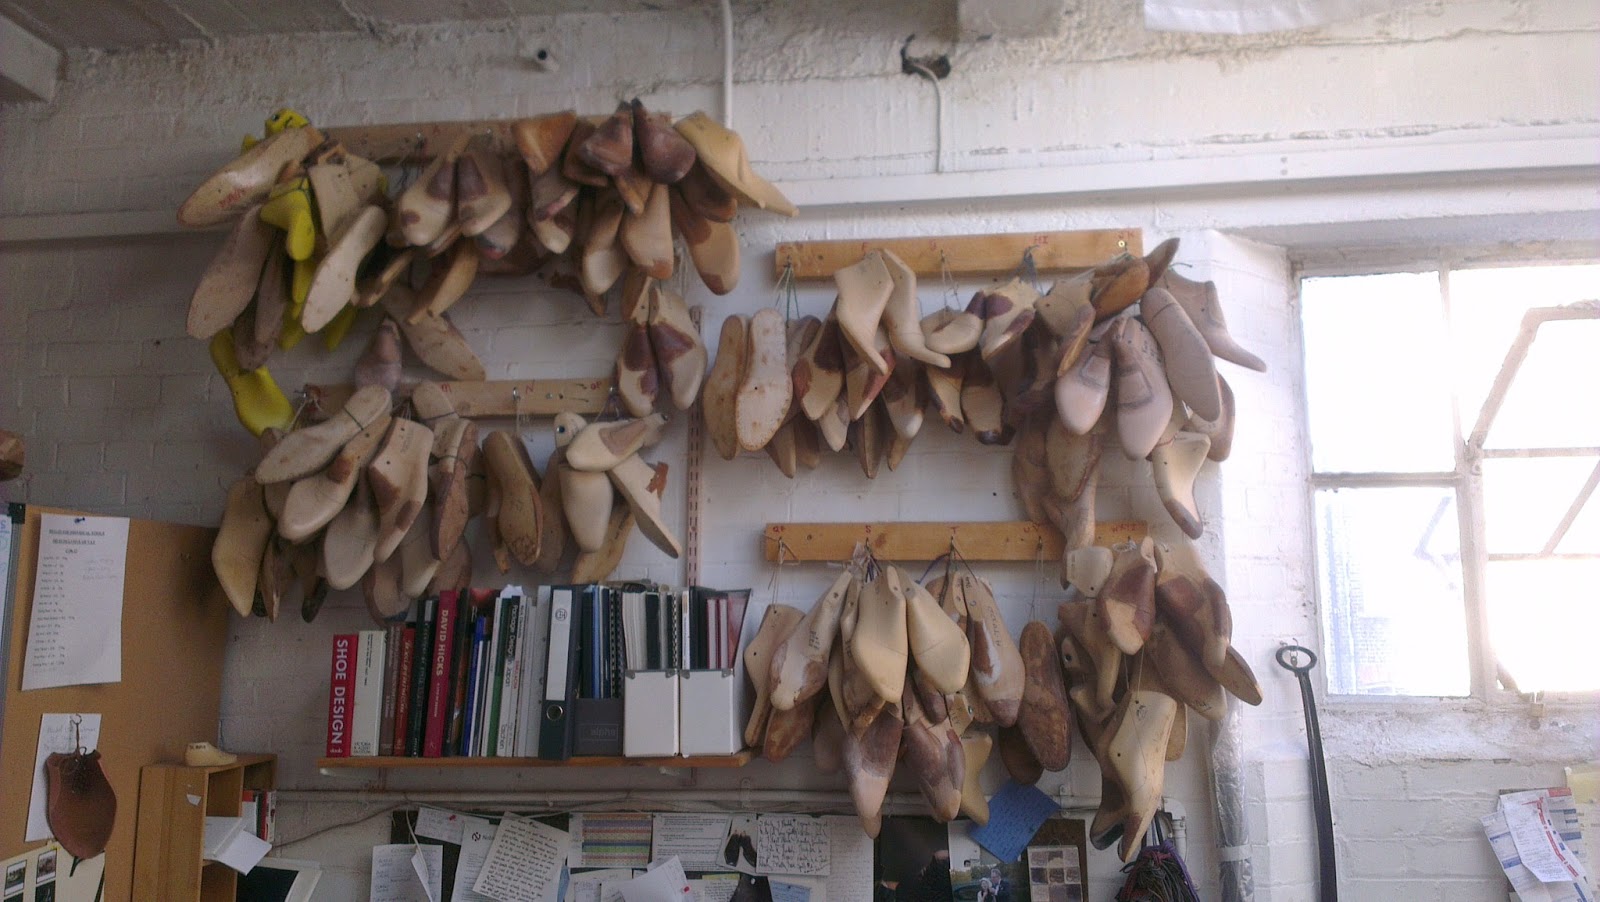
It does mean that our workshop here is unbelievably hot and you have to work at half speed and drink litres of water. This week we reorganised some of our customer lasts into more a spacious home and alphabetised them so that they are easier to find. Quite satisfying displacement activity.
And this is a sneak preview of a pair of boots we are making for a very good customer of ours. Any guesses as to what the animal is? And don't worry, it's all legal and above board with a CITES licence.


It's very beautiful, if a little disconcerting!
This week sees us returning to glues. We looked at paste a couple of posts ago and this week it's the turn of contact adhesive (or neoprene). This is the strongest glue we use and is solvent based. This means you have to use it in a well ventilated space because the solvents are toxic!
We use Colle de Cologne by Renia, but there are many on the market.

The essential fact about this glue is that you must put it on both surfaces you want to attach in a thin coating and you must let it dry for between 5 and 30 minutes until it is just tacky to the touch. You then place the two surfaces together and it bonds them.
You can leave it longer, overnight for example, and then next morning you can revive it with a hair dryer or heat gun. This forms an even stronger bond.
I have heard of people doing this and then putting on a second coat of adhesive and letting that dry. Never done it, but give it a try.
It only works on porous surfaces and in the time it is drying, it forms a bond with the surface it is on. This is why it is such a strong glue.
We use it for
- attaching the sole before stitching
- splicing together welts (for a welted seat for example)
- glueing in the shank and filler
- glueing on the top piece


There are some things to bear in mind when you use it though.
- it can form a thin line between layers of leather, for example, on heels or between the welt and sole. This can show up when you are finishing, so be careful. Best to use as thin a layer as possible
- you only get one chance to stick, so you have to position it right first time. You can't shift it about like you can with paste.
- it's nasty toxic stuff, so open a window or turn on a fan
- it's extremely strong, so only use it on bonds you do not want to break. We were taught not to use it for shanks and filler because when the repairer comes to resole the shoe, the sole pulls out the filler and shank. This is true, but we do all of our own repairs, so it is not an issue. But a general point is to think about your shoes over a period of years. You will have to repair them, so don't do anything that you can't easily reverse.
That is about your lot for contact adhesive, apart from to say that you would use this glue if you are going to use a cemented construction for your shoemaking. Not something we do here at carréducker, but a perfectly valid way to make shoes.
Next time we will look at rubber solution.
Until then, happy shoemaking!