We have places left on our Pattern Making and Intensive Shoemaking courses in Brooklyn in May. Any of you interested? It's your chance to learn some of the key skills in shoemaking and help you develop your own pratice. And it's great fun too. So if you fancy one, two or three weeks learning to make shoes in buzzing Willamsburg, we would love to sign you up - email us at courses@carreducker.com
We have received a lot of requests recently for a post about fitting up lasts to make them fit better. We have covered this before, so what I am doing today is re-posting something from 2011 which gives a good idea of what to do.
I would point out that there is a "search" button at the top of the page which makes it fairly easy to find things on the blog. It's not foolproof but it works pretty well.
So here goes. Hope you enjoy it.
The client whose lasts these are is proving very hard to fit correctly. He has painful feet and oddly shaped ankles. The fore part is fine, just a few lumps and bumps to accommodate, but his heel going forward to the joint is proving to be a nightmare. Luckily he is very patient and wants to get this right, so does not mind coming in for fittings.
Here is the adjustment I made to his last after this week's fitting. We had tried various things to accommodate his painful heel, foam padding being the main one, but it hadn't worked, so we are trying a different approach.
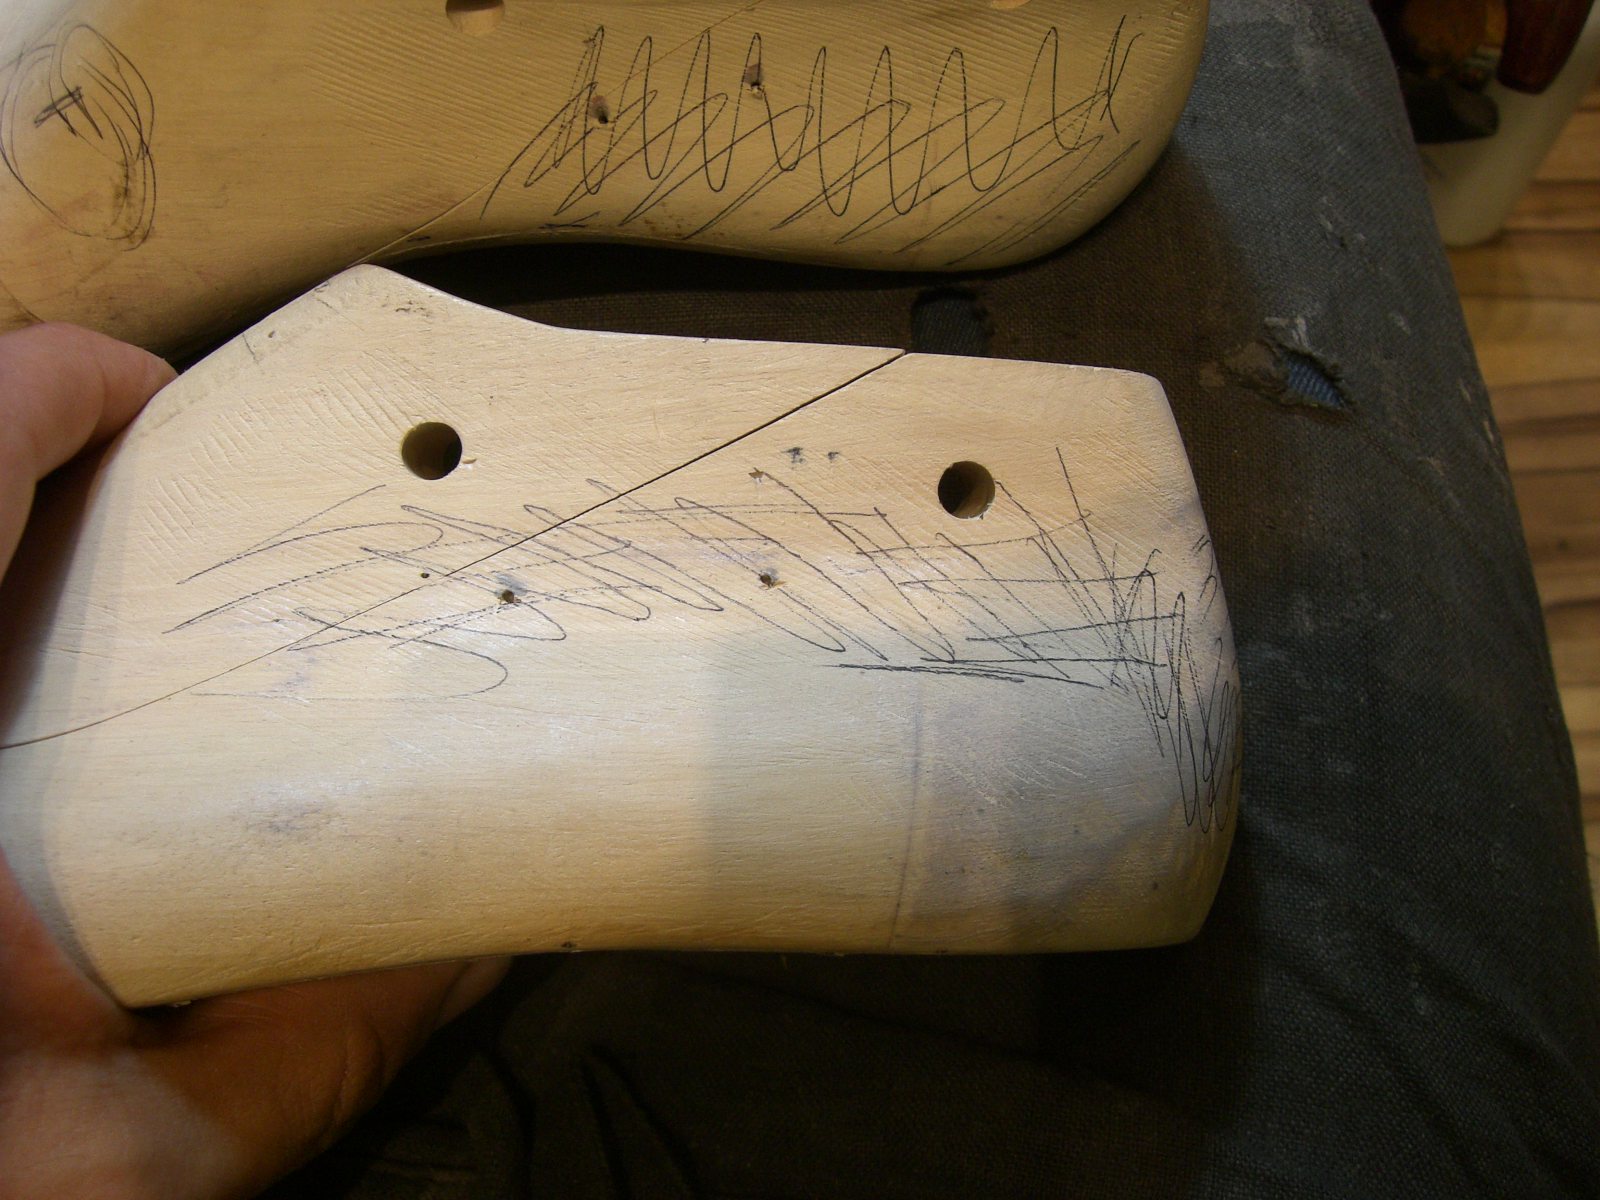
These are his lasts after the fitting. The pen marks are places where I have to take wood off the last, and the circle with the F is where I have to put a fitting. At the back, I want to off a whole lot to the line.
I like to mark work to be done on the last during he fitting. I take notes too, but I find the last easier to work with. The denser those pen marks, the more wood needs to come off.

One big problem was the fit along the top edge - way too loose and baggy, so I want to scoop away a lot of wood so that the shoe grips tighter.
A lot to take off on the heel.


Another very small fitting here.

Work starts across the joint on the top of the last. The sides of the lasts were fine, but there was a lot of excess leather across the top, so this is where it had to come off. If you leave too much leather on the top you get ugly creasing when the person walks and you also risk this creasing digging in to the foot and being painful.
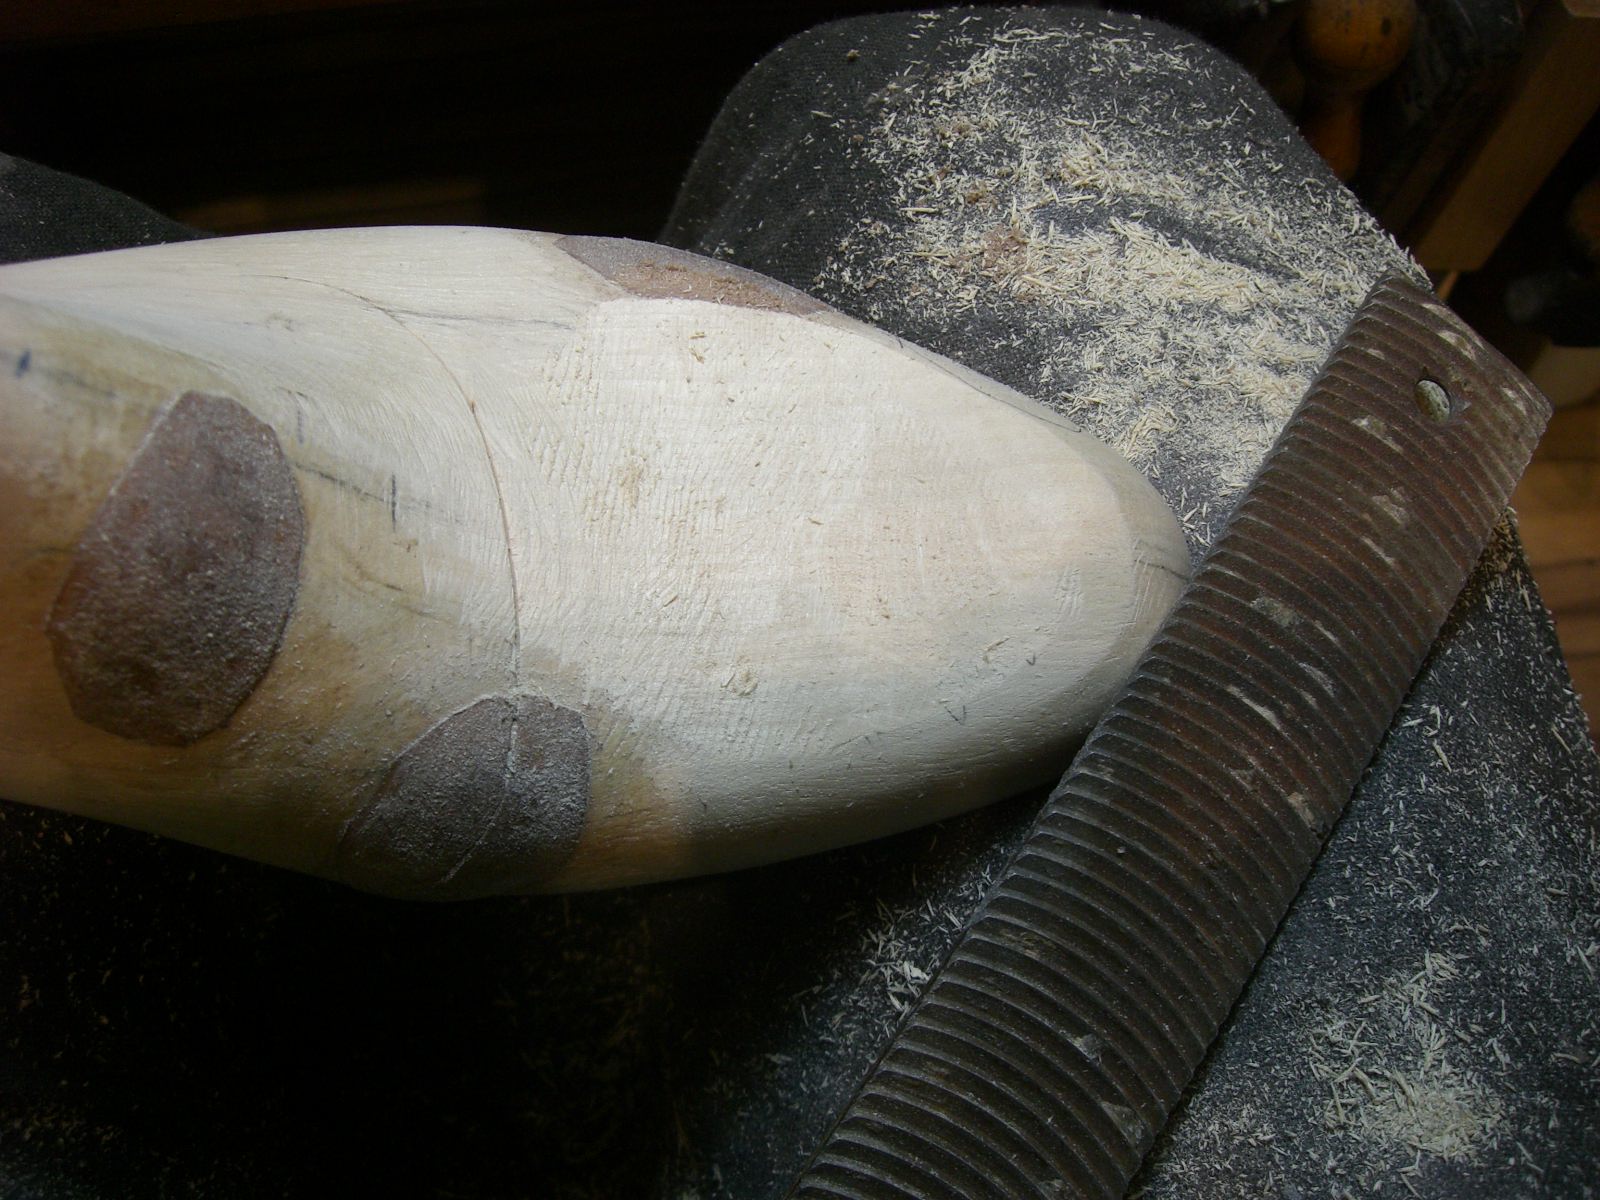
Next I started rasping off the sides. It is not an exact process for me and it is a lot of feel and look, so keep checking what you have done and look at the sawdust on the floor. Use a vice with soft jaws if you have one, but I tend to do it in my lap.
I use a tool like the one in the pics, but also use a surform and rasps.

Rasps, surforms and circular surforms.

I was trying to get a steep scoop on the last.

Then the other side.


Now the back of the heel to that line I drew. Work hard!


Not a good shape here. It has to slant more so that his heel is gripped by the shoe so that it does not slip out of the shoe when he walks. This is very important. If your heel slips in your shoes, then your toes grip to keep your shoes on and it can lead to big problems with your toe joints.

Compare the two. You can see how much I have taken off.

Same process now with the other last.


Fittings. I use toe puff belly generally because it is quite thick and you can put a big bit on and skive it off to your specifications. Cut it out; glass the skin side; skive the edges roughly; and glue it with neoprene/contact adhesive - strong glue anyway.
Let the glue dry for 5 minutes or so and glue it on

Skived edges.

I also use thick calf for thin fittings. This one is for the side of the last on the toes, so one edge is not skived.

Once it is glued on, you can start to shape it with your knife. Always try to make the transitions smooth so that you don't get massive lumps sticking out on the finished shoe. Generally, cut the fitting too big for the lump, so that you can blend it in to the last.

Nice blending, jimmyshoe! Sorry, I go a bit crazy writing this blog sometimes.

When I am done with fittings, I always cover them with a layer of the glue and let it dry for 12 hours. This way, the leather is not so rough; will not mark the lining; or stick when you pull the lasts.

The last little trick I used in this shoe was a cut out on the heel stiffener. This client has a sore lower heel, so cutting away the stiffener allows a bit of softness for this area. You can cut away like this wherever you have sensitive areas of the heel or toe, for that matter. I quite often shorten the toe puff to avoid sore toes.

And that, as they say is a wrap. Adjusting lasts is fun and requires a bit of intuition. It is hard to be precise about it, and the more you do it, the better you will get.
This took me about an hour and a half all in, but it was quite a lot work. Normally it does not take this long.
Well, dear readers, that is all for this week. I hope you enjoyed the post and I welcome any comments you may have.
Also, if you are a regular reader, I would really appreciate you becoming a Follower. Thanks
Until next time, happy shoemaking!