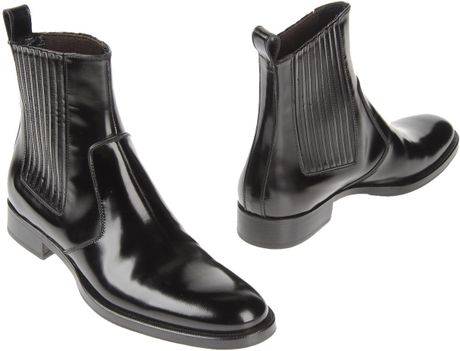
After the rigours of mingling with the public; explaining our craft; talking about bespoke shoes and generally pressing the flesh last week at the Royal Academy, this week saw a return to the more mundane but equally exciting world of making shoes.
We have an Ghanaian customer who came to the shop last week to pick up a couple of pairs of boots. He had ordered four pairs, three of which were identical styles in three different leathers - we love customers who know what they want! We had two pairs finished and a third under way. His fourth order was a pair of calf length field boots which require a fitting because he has not had long boots before.
He also said that he would be back in London this Sunday for one day, so we have had to get our skates on to get his third pair finished and a mock upper made to do the fitting on his long boots. We like to make a mock upper on certain styles so that there is more room to adjust, change and manipulate the pattern. If you use the final leather straight away, there is the danger of needing to do so many changes that you have to make a second upper anyway. And it is easier to manipulate the mock upper during the fitting itself.
Luckily we had three sets of trees made all at the same time so there will be no delay in delivering the boots to him on Sunday.
And so to shoemaking. I'm sure most of you who have read our recent posts remember our new riding boot samples.
Riding boots are a mysterious and complicated beast because they are long boots (always a little tricky to fit on the leg); they have no fastenings (so they must fit tight on the leg but have enough room to get your foot into the foot section); and they can only be put on and, most importantly, taken off with brute strength.
To put them on we put in tape loops to which you can attach boot hooks and pull (hard!)
The problem with taking them off is that all that force needed is usually focused around the heel. In the past, when folk who rode in such boots were the elite and had other folk who could help tug the boots off, things were relatively simple. These days most people use a boot jack.
You can see the forces used to get them off. This requires a special reinforcement when you come to build the heels - the German seat.
And here is how we do it. You start with an extra thick insole and prepare your feather/holdfast as for a welted seat. Welt the boots as normal and stop at the heel marks.
Here is when you start the German seat. You have to stitch on an very strong, rigid rand or split lift. We use the same hide as for the heel lifts. Make sure it is a bit wider than your normal split lift. Make five notches and hammer it into a semi circle (the hide does not want to do this!).
You also need to make double thick thread. We use 5 cords of hemp for welting so use 10 for a German seat. Bevel off the end and splice it onto the welt and start stitching.
For added strength, when you get to the start of the curve, do the knots you would do at the toe to stop the stitches pulling through.
Stitch all the way round and splice the other end of the split lift onto the welt. Hammer the stitches as normal.
Most often you will stitch the sole on round the seat but on this pair we didn't because they are a show pair and we wanted them to look more elegant.
Here we have peened in the split lift. But leave a wide seat so that the boot jack has something to grip.
You can then build the heels as normal.
There are two schools of thought on German seats. One is that you use a large awl with not much of a curve. This throws the stitches out a lot and when you come to stitch the sole on, you stitch on the inside of the German seat stitches.
The other is that you use a very large but highly curved awl which brings the stitches close to the heel. Then you stitch the sole on on the outside of these German seat stitches. This is my preferred method as it fits in more with my normal practice if I do a welted seat.
On this occasion I did the former because I did not have the right awl. I didn't like it much because it was a bit unfamiliar. It did work however.
This is the kind of awl I would normally use, but it would have to be about an inch longer. This an adapted Barnsley 3 1/4" welting awl. We are going to ask our tool maker to make one exactly like this, but slightly thicker and 4 1/2" long
If you are doing a normal welted seat, it is really helpful to have a longer than normal awl because of the thickness of the layers and the angle you have to welt at. Welted seats are hard work!
And that, as they say, is that.
Until next week, happy shoemaking!


