It has been really interesting to see how he has progressed and to hear the tales of his attempts to learn shoemaking. His stories just confirm that it is quite challenging to learn a craft like ours, so it is with the greatest admiration that I say to all of you out there who are making shoes, well done and keep going! You can do it! And well done to you Seiji for persevering.
So, anyway, here we go. Seconds out, round two. Insole up in waist. For an explanation of why we do it, see last week's post.
So you block your insole as per usual and let them dry. Make sure you leave the insole full in the inside waist with nails right up to the top.

When the insole is dry, draw the curve of the up in waist. This will vary from client to client, but do it full to start with and, when you do the fittings, you can reduce it if necessary.

Make sure the two insoles are the same because you must make a pair of shoes which match. Cut the leather on the line with the knife straight up.

Using a plough or the tip of your knife, cut off the lip around the insole, but leave the inside waist untouched.

Skive the flesh side of the waist down to nothing. You must shape the waist with your knife so that it gives support, but does not bulk out the finished shoe. Do both shoes.


Take both insoles off the lasts by removing the 4 nails. The next thing to do is line the waist with the same leather as you have used in the linings of the shoes. You do this because the sock at the end will not cover the waist, so to make it more attractive, we cover them.
Draw a curved line on the inside of the insole where the cover will finish.

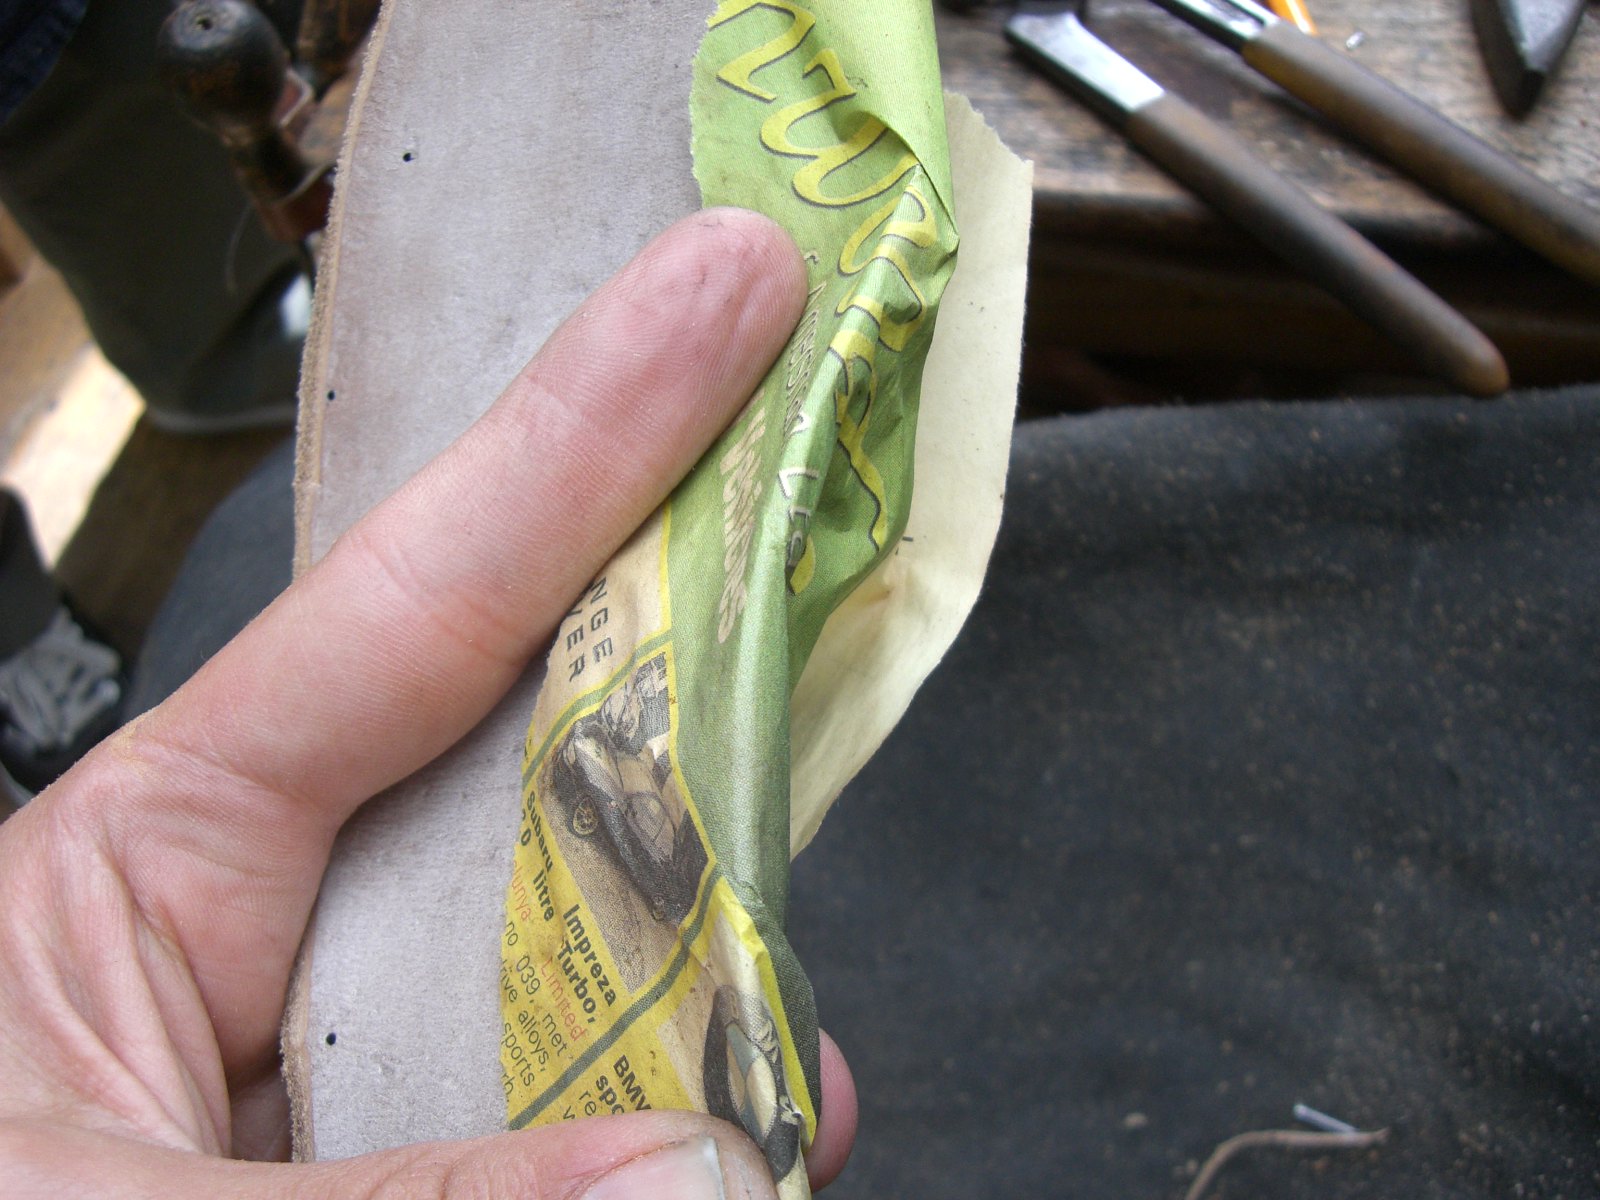
Now, to make the cover. You need to make a paper pattern for the covers. Take a piece of newspaper (or similar) approximately the right size. Place it on the top edge of the waist and make a sharp fold which will leave a line on the paper. Draw a pen line on this fold. Along this line, draw a second line 1/4" away and join the two lines. This is the margin which will be folded over the top edge of the waist to make it look neat.
Then draw the curved line from the waist onto the paper pattern. Do this by lifting the paper bit by bit and drawing the line. Cut out the pattern. You now have a paper pattern.

Remember that in general with shoes, you have a right and a left, so when you use a pattern, you must turn it over for the other shoe.
Draw the pattern onto the leather, one for each waist. Remember to turn it over for the second one.

Cut out the pieces.

On the curved edge which will be visible inside the shoe, skive off the very edge, about 1mm, down to nothing. This is to avoid an uncomfortable lump inside the shoe.

On the other curve, skive off just under the 1/4". You don't want the skiving to be visible on the top edge of the waist.

This is the finished cover, ready to glue on.

Glue the back of the covers and the insole, including the 1/4" on the outside of the top of the waist. Use contact adhesive.

Let the glue dry for 10 minutes.
You are now ready to glue them on. Start at one end and place the cover on the curved line on the insole. Keep some tension on the cover as you place it along the line. Smooth it down up to the top edge, but don't fold it over just yet.

With a pair of scissors, make a series of cuts, but not right to the top edge. This is to help folding it over.

Fold the cover over the top edge and glue it down.

You now have the covers in place.


Put the insoles back on the lasts in exactly the same place and nail them. You are now ready to prepare the holdfast/feather as usual.

Hope that makes sense.
So that is that. Good luck with it if try it.
Until next week, happy shoemaking.