Well, it just so happens that carréducker has opened a second workshop in London and it is in an absolutely fantastic location. It is all a bit hush hush at the moment, but, as they say, all will be revealed. As you can imagine, we are very excited! More of this soon ( I am busting to tell you!).
So, back to more important things, like your heel and sole edges. I was a bit of a chump last week. Someone had taken the memory card out of the camera last week and not put it back, so I do still have the pics to finish the essay. How was I supposed to know?
Right, you have applied the wax to the inked edges and melted it in with a hot iron, but it looks all blotchey and uneven. Here is what you do.
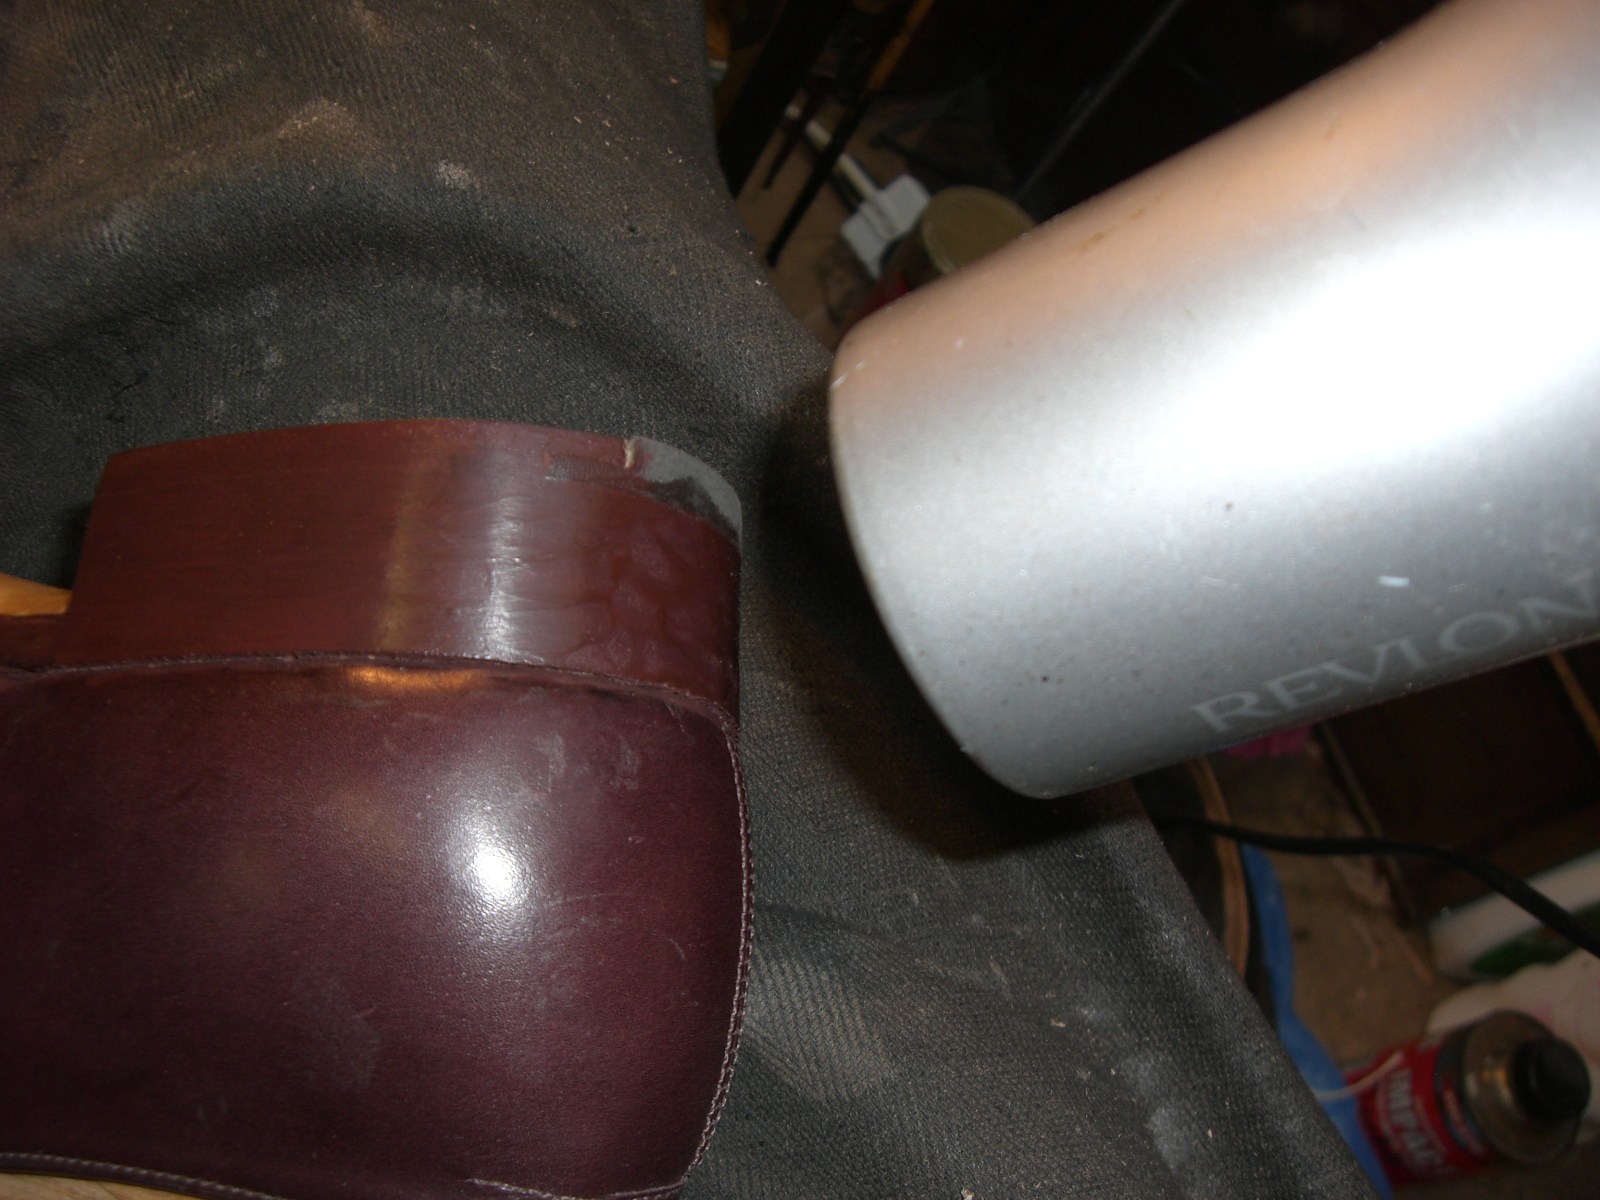
When I first learned, I was taught to use a face flannel, put it over my thumb tightly and just rub the hell out of it until it melted and went smooth. This method still applies and it is a perfectly good way to do it, but it makes you sweat, especially in the summer. So I broke the rules and introduced the only machine (the shame of it!) into my workshop. A hair dryer!

So with your trusty flannel in hand heat the heel edge with the hair dryer, until the wax starts to melt. Then rub the hell out of it as before. But this time, you need much less energy. A final light rub brings out the shine.
The sole edge is a bit different. Don't use the hair dryer as you may damage the upper. Just rub with the flannel until the wax melts. Make sure you rub the top of the welt too. And do a final light rub to bring out the shine.

Lovely shiny edges.

Notice the little line of wax on the sole. Try to make this even as it looks really great.

Nearly done. You now need to use the seat wheel around the seat. This is just cosmetic, but it also covers any poorly finished seat areas. The seat wheel is an iron that you need to heat on your burner, but not too hot. It has a lip which you rest on the seat and you must press both downwards and into the heel and it leaves a line of little marks which looks very decorative I think you will agree. You will have to pass the flannel over it to get rid of any marks left by the wheel.


The last thing is to use a single lipped iron on the heel edges. This is a regular edge iron that I have ground down on a grinding machine. But you can sometimes find original ones.
Place it on the burner until it is very hot. You then run it round the top edge and front edges of the heel. It leaves a line and gives a finishing touch. If the line is not very defined, repeat the process, but put a bit of melted wax on the edge first and work it along the edges. Et voila! Gorgeously finished bespoke shoes.


If you like, you can use the edge of your fudge wheel to make lines too. It looks pretty cool. The sky is the limit and use your imagination.

That is it. Have a good week and happy shoemaking.
PS, very much looking forward to meeting the Shoe Snob on Monday.