This week I finished a pair of quite interesting shoes, not so much for the design (which is quite lovely) but for the difficulty of the fit. A very wide joint; surgery on painful joints; very flexible shoe needed (sound familiar?).
The client was concerned that his shoes would look freakishly wide, but I think you will agree that they don't. He is very pleased with them, so I am pleased too.
We used a light flexible insole to help and a lightweight leather shank. He also wanted a sticker sole to protect the sole and stop slipping. I think the addition of tacks not only looks good but helps keep the Topy on.
The design is our classic Extreme Brogue (as described in Mens Flair as "top of the lot"), with the extra brogueing patterns on the counter and vamp and the plain seams (no gimping). It gives the shoe a sleeker more modern look.
Rather lovely in fact.


Now, you get to the end of your shoes and you know that you have done a good job. Solid construction, good quality leather, but if you don't finish them well, then they will be badly judged. And if they are for a paying client, it is all they will see. So you have to finish your shoes well.
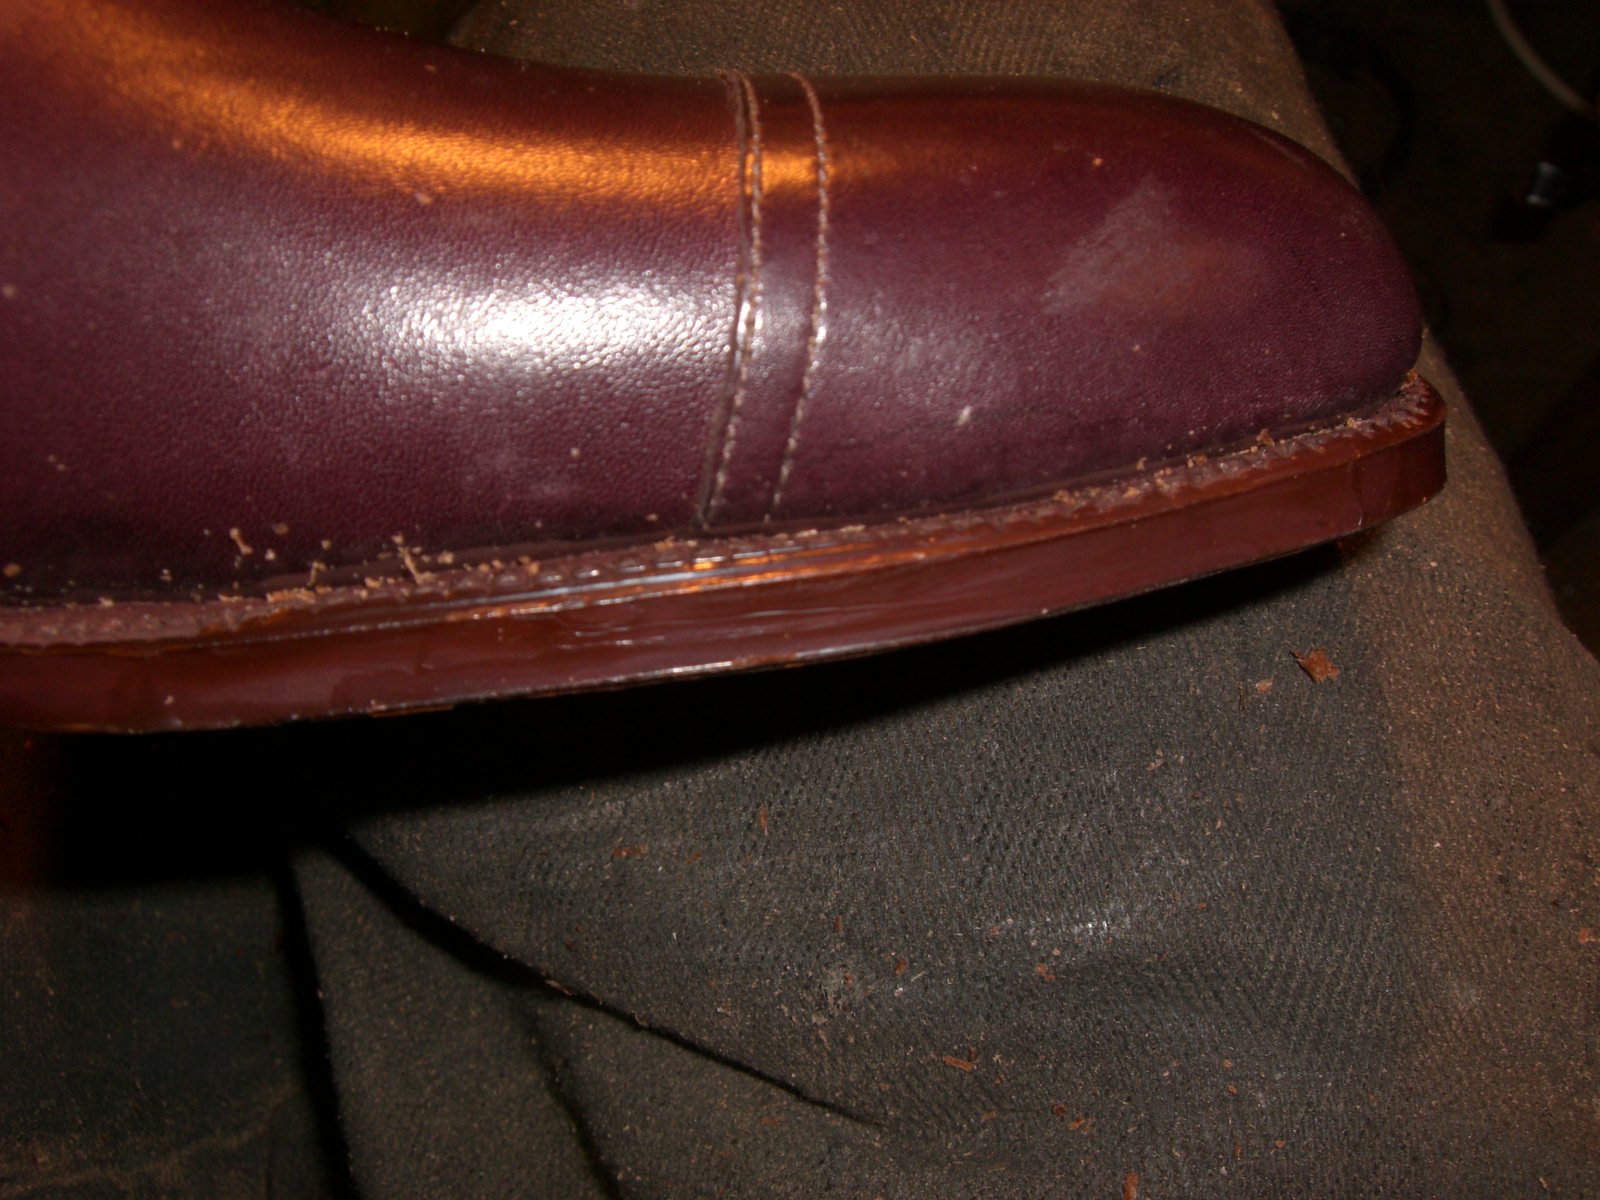
Having rasped, glassed, sanded the heel edges and sole edges, you are ready to ink them and wax them. The last jobs to do.
The first thing you need to do is key the surface of your glassily finished edges. Use a very high grit paper like 240 and very gently key the surface.


We use Quick ink made by WH&B, but you should use any ink specially made for leather, particularly shoes if you can find it. Try repairers suppliers. You must mix the ink up first to get the full colour.

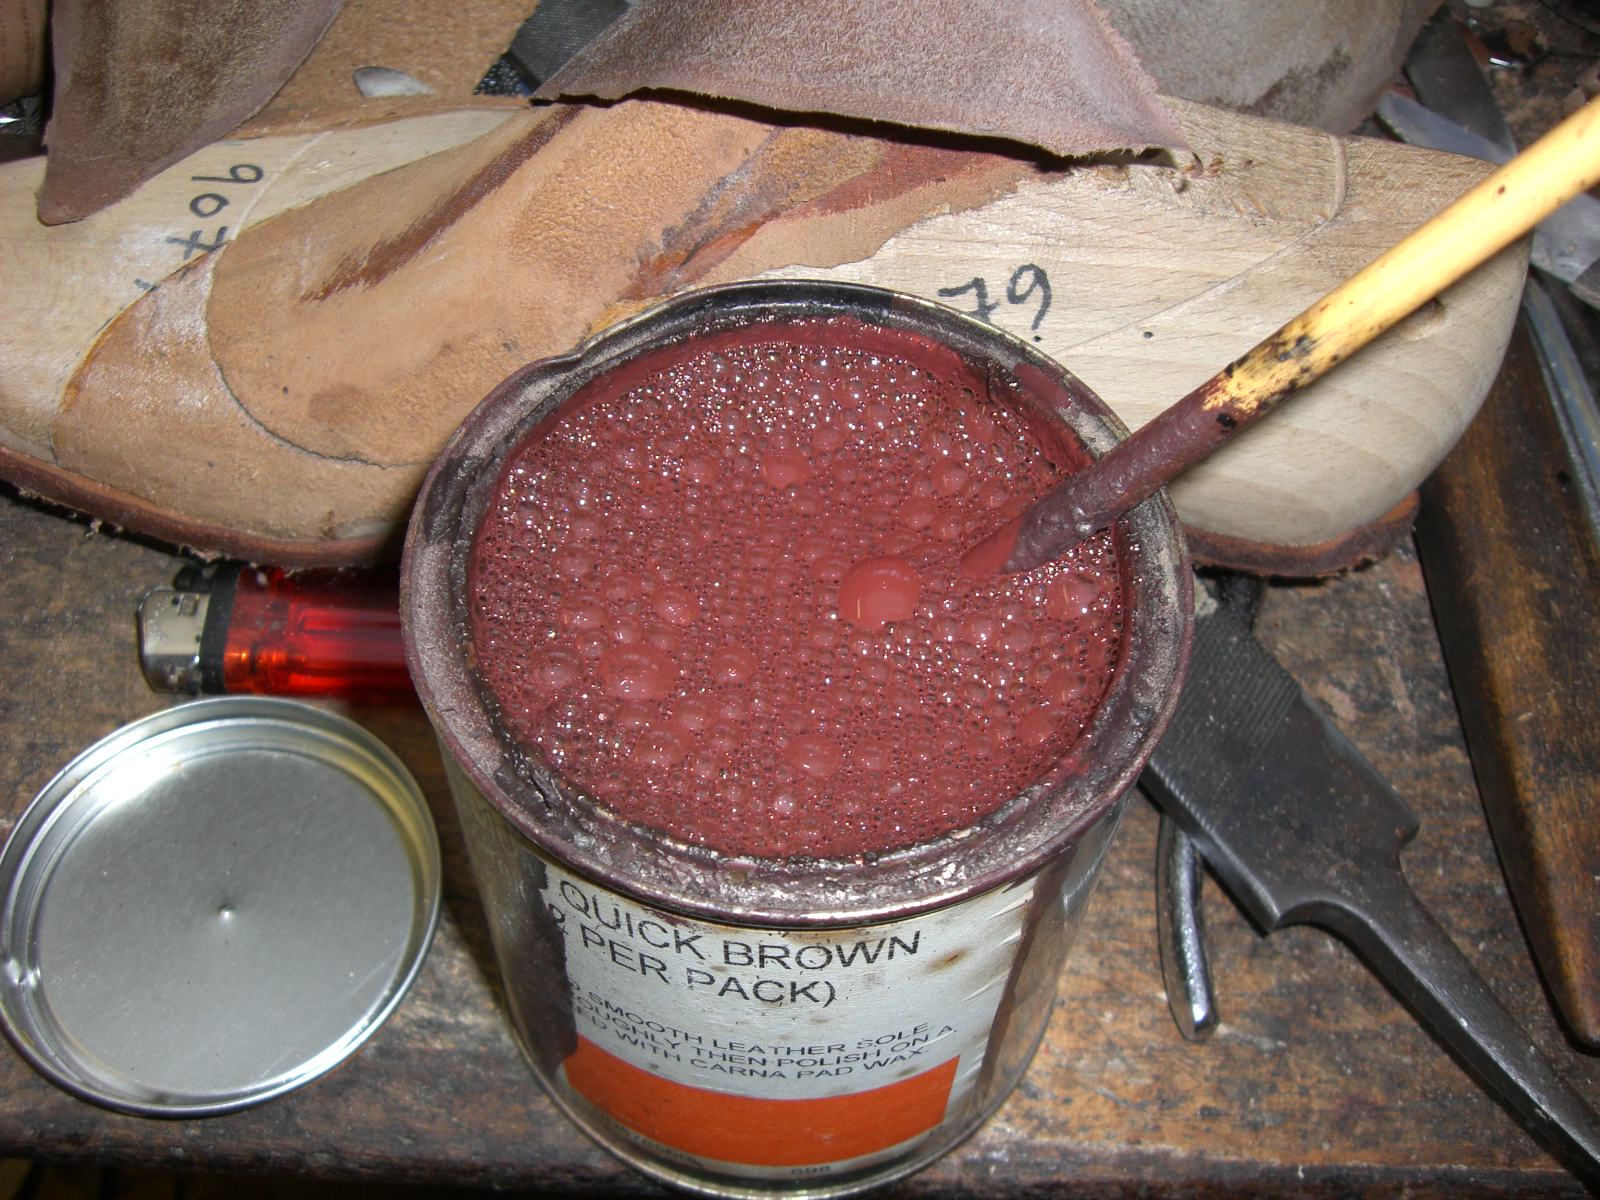
With a fine paintbrush, ink the heel edges and the sole edges, including the welts and waists. The advantage of this ink is that it is water based, so that if you get it on the upper, you can clean it off with water.


Make sure the ink is completely dry.
We use Astral Wax for the next process. It is a specialist wax for this process but is now no longer available. Again try a cobblers suppliers for a specialist wax. Yankee wax is also ok.
I always put the wax on the heel first, so put your heel iron on the burner and in the meantime, start putting the cold wax on the heel. I rub it on from the block.


When the iron is hot, rub it on the wax to melt it onto the heel edge. Put the iron back on the flame and repeat the wax process, melt the second layer and do it a third time.
Do it on both shoes.

Next we do the sole edges. I do this slightly differently. I briefly heat the wax in the flame and rub the liquid wax on the edge. Do the waist too.


Put the edge iron on the flame. Heat it until when you lick your finger and put it on the iron, it fizzes slightly. Be careful!
Run the iron along the edges so that the wax melts into place. Make sure you do it so that the bottom edge leaves a little line of wax on the sole (for aesthetic reasons).


Do the same thing with the waist if you have done a bevelled waist.

Next week I will show you how to tidy all this up and make the finished shoe look beautiful.
Until then, happy shoemaking.