I am going to NYC on Sunday to teach our annual New York shoemaking course. I always enjoy being there, so I am looking forward to it. Next week I will post some images and give you a progress report.
I went to a friend's 50th birthday party on Sunday and received some wonderful feedback from an old friend about the blog. She has nothing to do with shoemaking but still enjoys it which is really marvellous. I also had a fan in to Gieves and Hawkes yesterday who came by to meet myself and Justin, aka The Shoe Snob, so thank you for that, you know who you are! It means a lot to an old blogger like me, as it can be quite a lonely activity.
This week I am going to approach it slightly differently. I have decided to start with a shoe and just take you through the whole process from start to finish, commenting as I go. So here goes, wish me luck.
I have chosen a slightly unusual shoe which might throw up some challenges. It is a monogrammed velvet slipper. This requires a different construction to the traditional welted shoe and is a method which could apply more to those of you who use a cemented construction.
You start by blocking an insole as normal and letting it dry. Trim to the feather edge and cut off the lip around the feather edge. This can cause pain to the wearer if you don't do it. I use a plough, but you can use the tip of your (sharp) knife.
Cut the waist quite full and don't pull it in too much as you will not be able to stitch if you do.


At this stage take a paper template of your insole. This will come in handy when you come to prepare your sole. Because I don't do this very often, it is a difficult make for me, so I like to get all the help I can. If I dont use the template, I tend to make the sole to small and it looks bad.
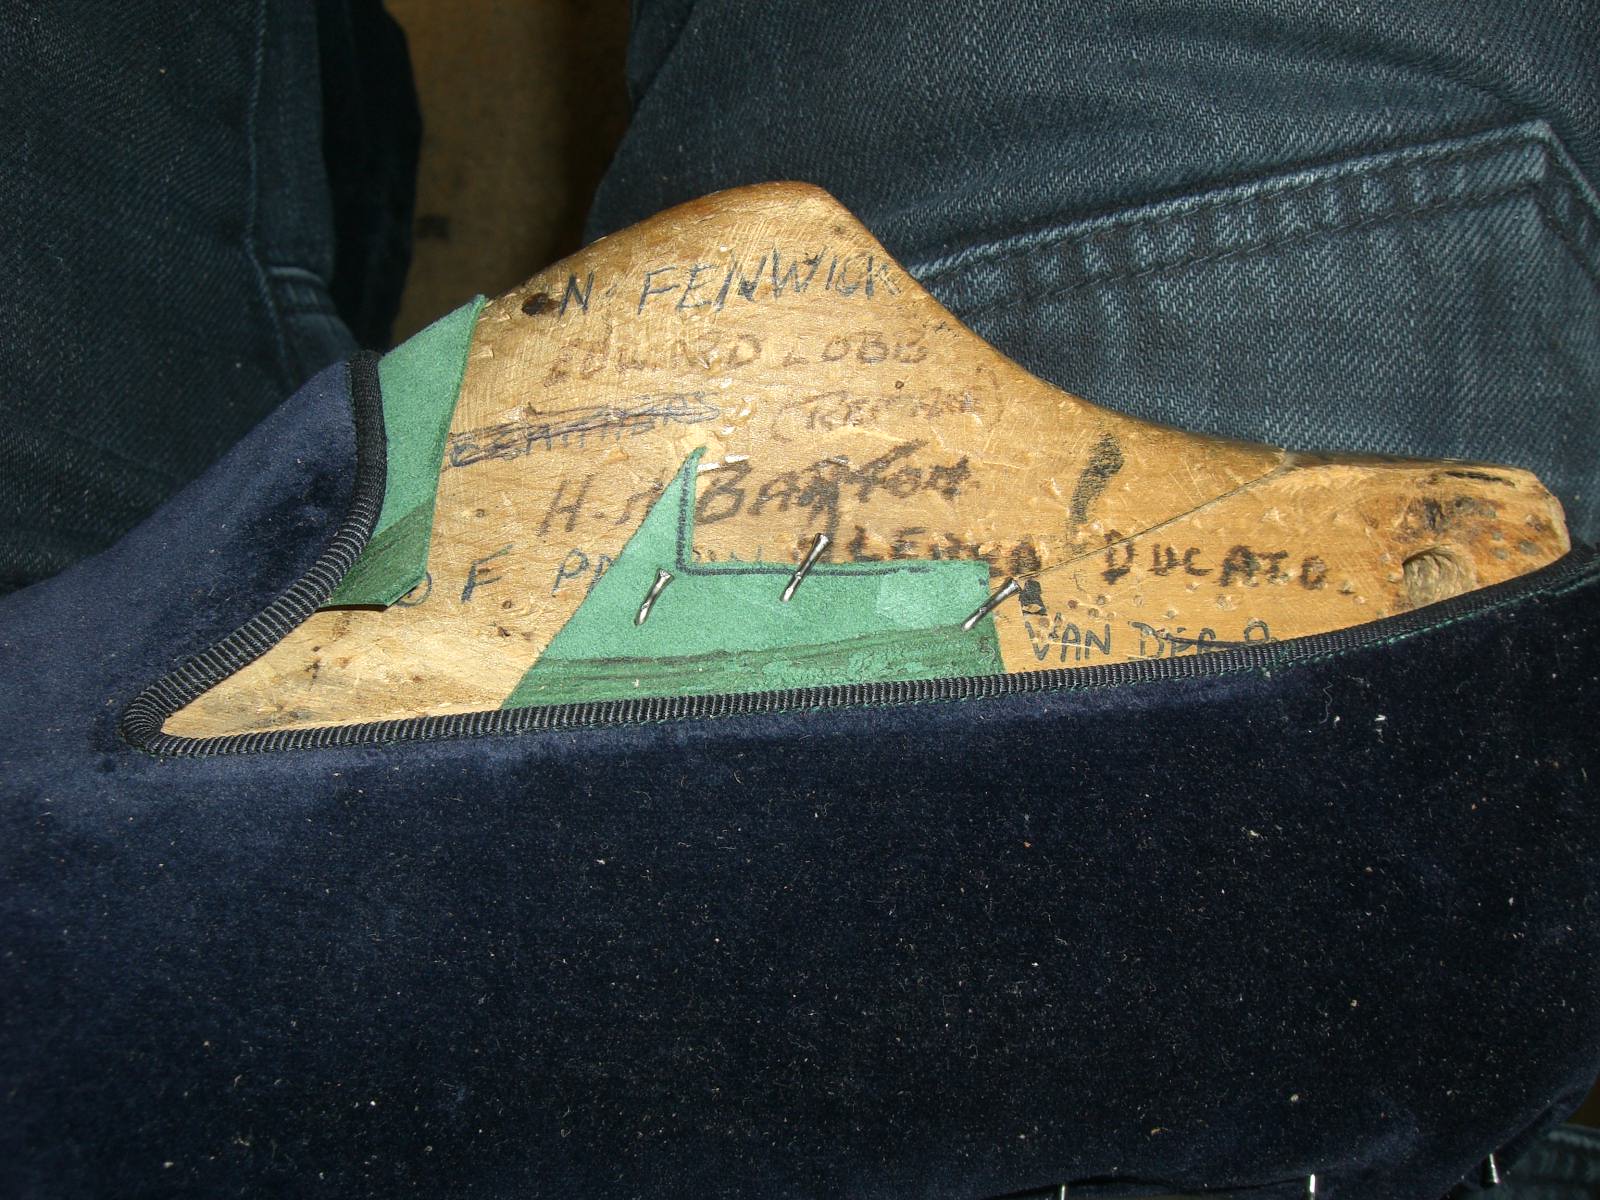
Do it for both lasts as they might not be the same.

Skive your toe puffs and stiffeners in the same way as normal. You will need long stiffs in side and out because this is essentially a casual shoe (no fastenings) and needs the support in the quarters.
When you are ready, paste the skin side and put it into the space between the lining and the upper.

Then paste the other side and glue it all together.


Use side linings too, to give support along the sides of the slippers. Glue each side of the tip and place them between the lining and the stiffener. Make sure they are lined up correctly to follow the lasting allowance of the uppers.


Now, time for lasting. Place the upper on the last. Don't use chalk/talc this time because it is a satin lining and it will ruin it. Make sure you leave about 1cm above the last as you can see below. You can put a nail into the centre seam at the base of the last to keep it on place if you need to.

With your lasting pliers, pull down the front. Put one nail in the centre at the front and then four more , two on each side. At this stage, it is just to make sure the upper is positioned correctly and straight.
Adjust as necessary and when you are happy, do the other one and make sure they are a pair. Measure the positions of the monogram to make sure.


 |
| A PAIR Of Shoes Is Key |
Once you are happy with the fronts, pull down the back to the back height mark (2 and 3/8"on the last) and put a nail into a seam,being careful not to damage a stitch.
Because this is a casual and has straight top edges, the closer usually leaves tabs on the lining to help keep the top edge straight. Put some nails in these.

Last the back part as normal, pulling and nailing as you go, a little on each side in turn. Continue till just behind the joint.
Make sure you get rid of the creases and hammer everything down at the end.

Now the forepart and the toe puff. Take out the nails at the front and relast the lining, nice and tight..

Mark the position for the puff on the lining - 2.5" - and draw a line. Paste the whole front part and under the feather edge where you will last the puff over and nail it.
Last it as normal - 2 nails on the top, 2 at each end, and then 1 in the middle, continuing 2 on each side untill you get to the end. It should look like this.

Let it dry and then take the 2 nails out of the top. Rasp it smooth and shape it to the last. Make sure the other one is the same. Remember it's a PAIR of shoes!

On the bottom side, cut away the excess with your knife and rasp it flat. This is important.

Attach the side linings using contact adhesive. Cut and rasp them into shape, like this.

You are now ready to last over the front of the upper. Follow the same procedure as before.
Normally, in a welted shoe, I would trim off excess upper before I hammer down the nails, but in this case, I leave it full because you will use this excess material to brace the upper to the insole in the absence of a welt and a holdfast/feather.

This seems like a natural place to take a break. Next instalment will be in 2 weeks after I get back from New York. I will be bracing the upper on and preparing the sole for a pump stitch construction. Contain yourselves please, you will just have to wait!
Until next week when The Other One will be taking over the blogging mantle 'for one week only', before she joins me in new York for week two of the course. Happy shoemaking!