I have said to them that they have to finish stitching the soles by the end of play tomorrow.
Today we were principally getting the soles stitched on. This starts with glueing on the soles. On the course we use neoprene/contact cement for strength, but when we attach soles ourselves, we use rubber solution in the middle and neoprene on the edges. This to avoid pulling out the shank and the cork when you repair the sole.

Once attached, we trimmed the sole to the welt - sharp knife essential.

After this we cut the channel. This requires a steady hand and a courageous heart. This is a flap of leather which covers the stitches on the underside of the shoe. After stitching, it is glued down again.
Next came marking the stitches with a hot fudge wheel - sorry no photo, but it leaves a series of lines on the welt which mark the stitches.
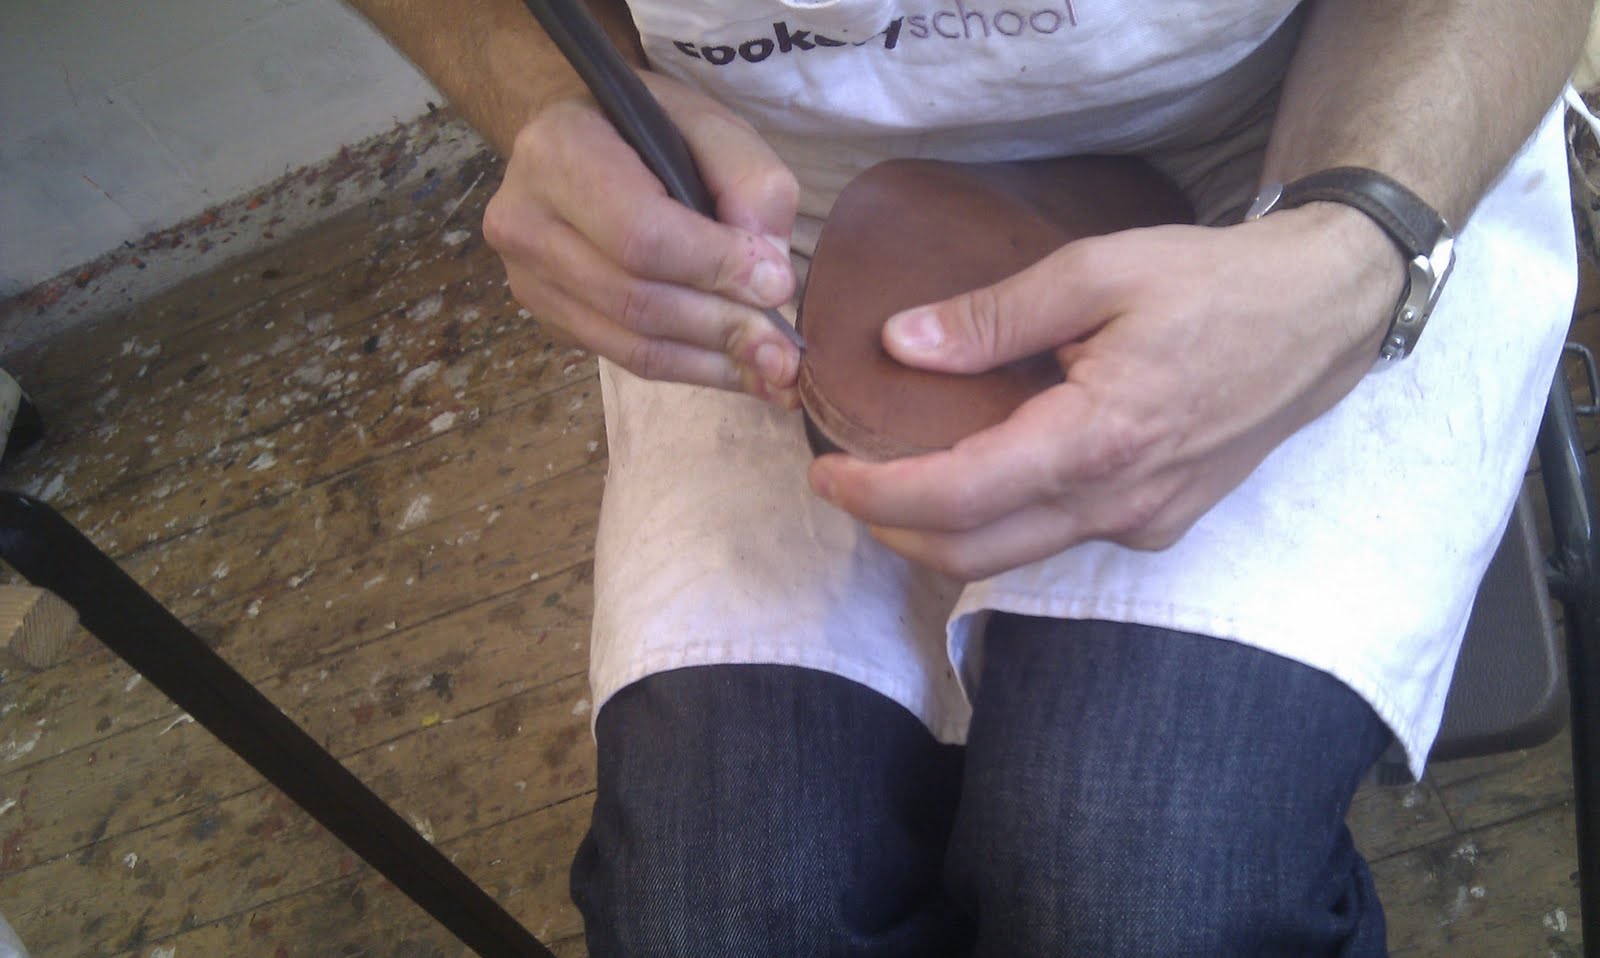
Now comes the stitching. A three cord thread this time with a bristle at either end. And a different awl too. Much easier than welting they all said.


After stitching both shoes, we flattened the stitches with the bone, closed down the channel and hammered it flat. This gets rid of all the creases.
We then opened it up again, glued it with neoprene, let it dry for 10 minutes and glued it down. Some gentle hammering was followed by smoothing the whole sole with a sole smoother (an old chair leg, sanded smooth).

And that was eight hours in class. Tiring but satisfying is the general view I think. More tomorrow.